Create an API Step within an Existing Test Case in BotGauge
In this article, you'll learn how to create an API step within an existing test case.
Step 1: Click on the API Button
Click on the API button to open the API interface.

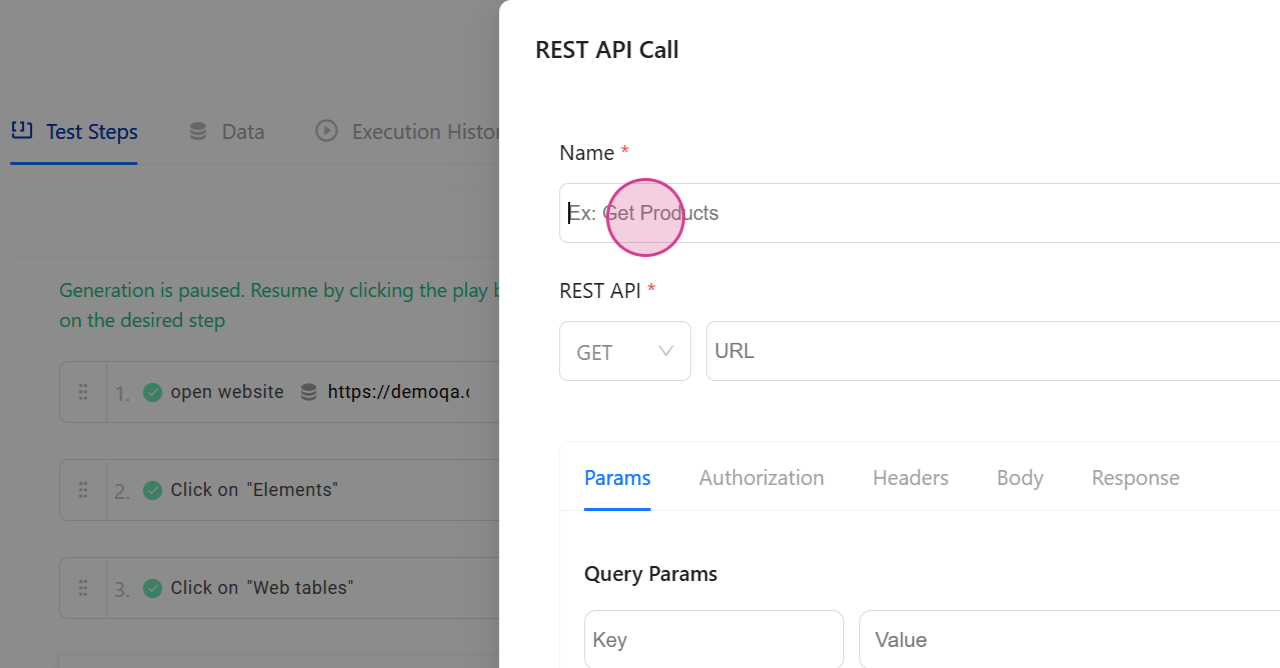
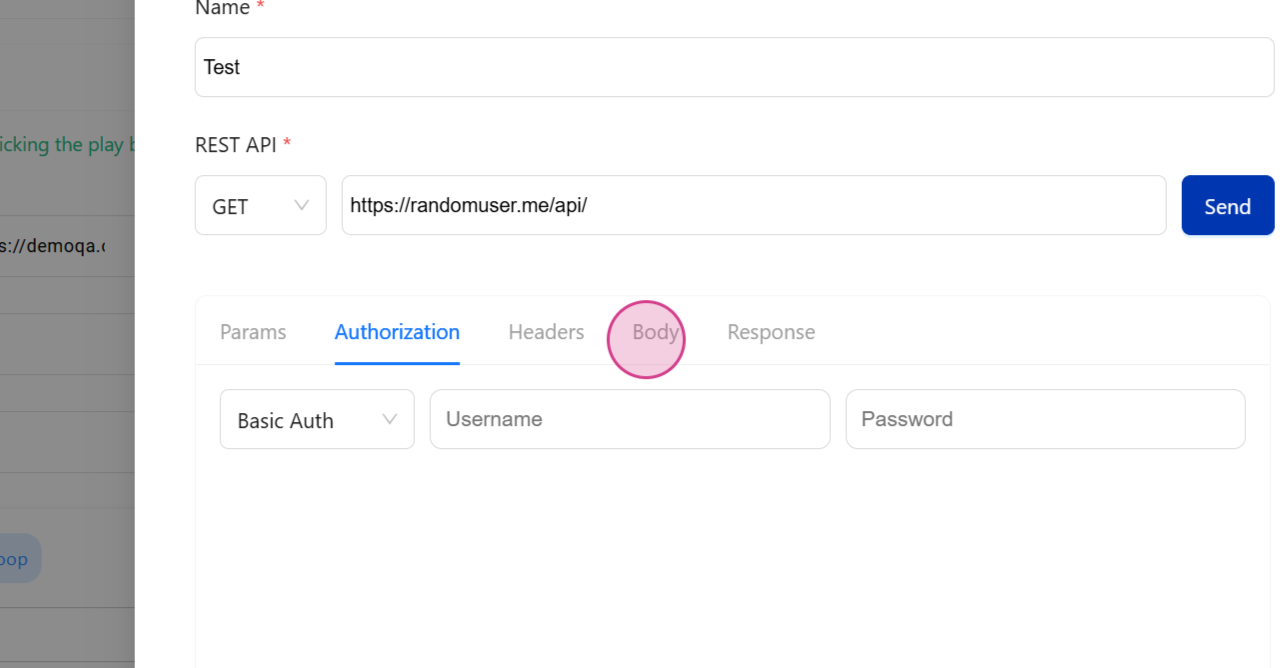
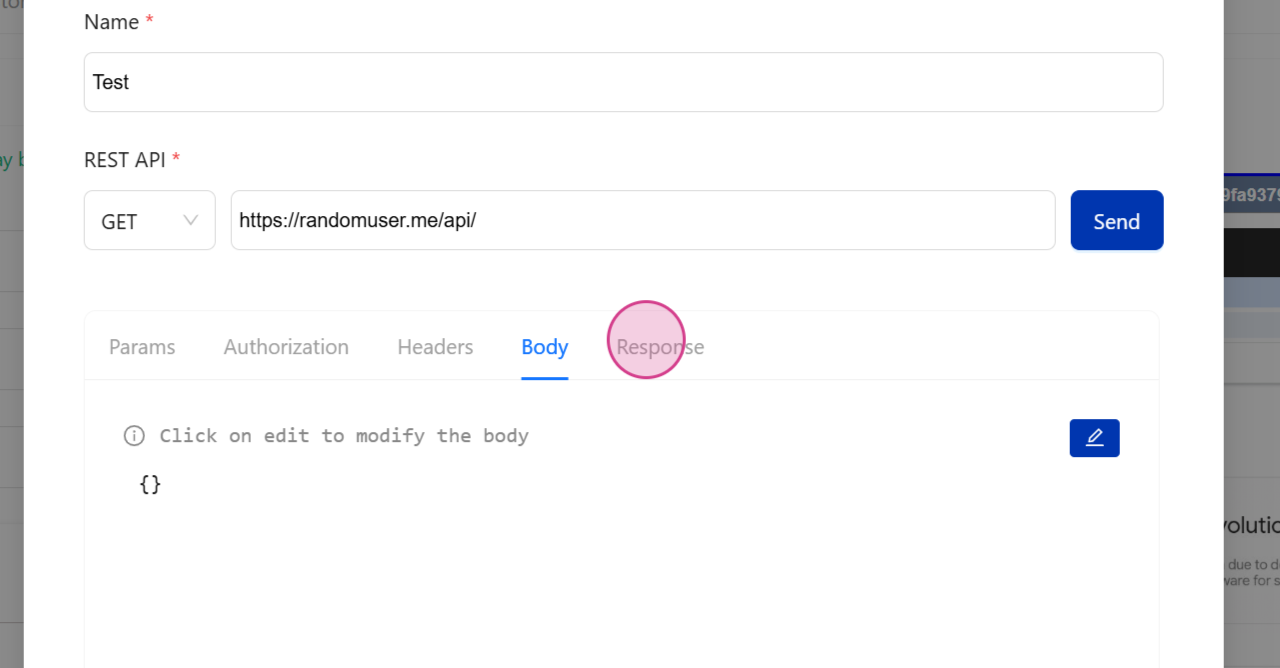
Step 2: Enter a Name for the API
Enter a name for the API for identification purposes.
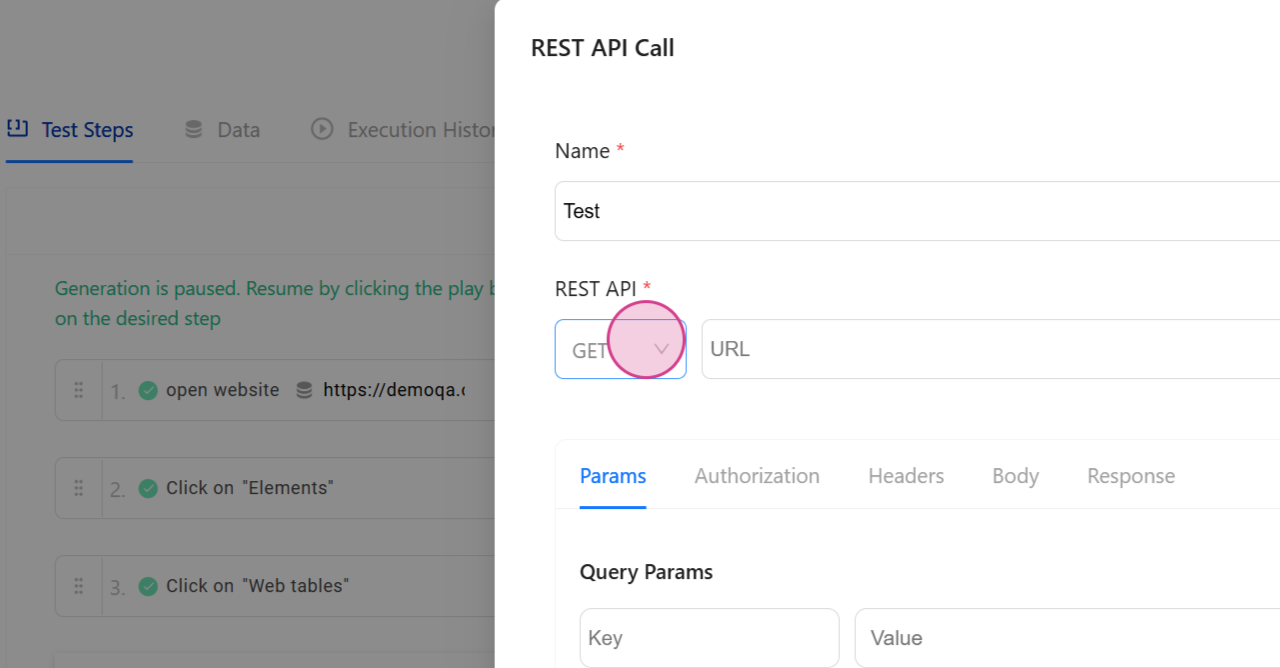
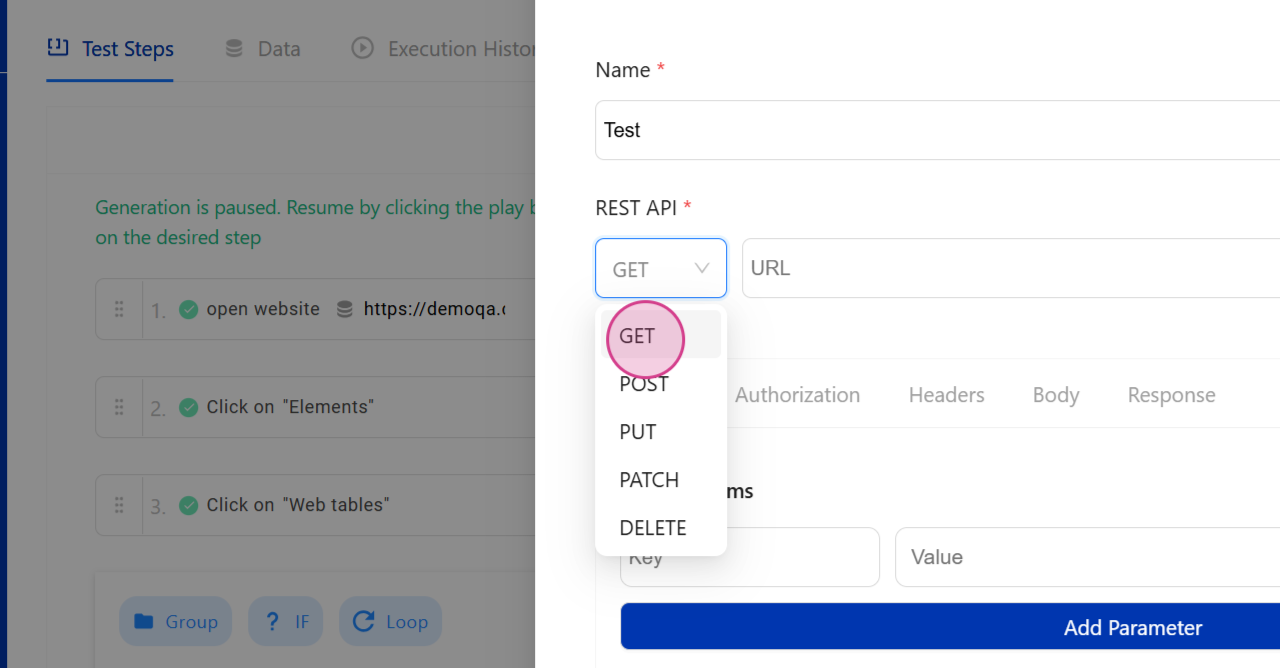
Step 3: Decide Whether to Make a GET or POST Call
Decide whether to make a GET or POST call.
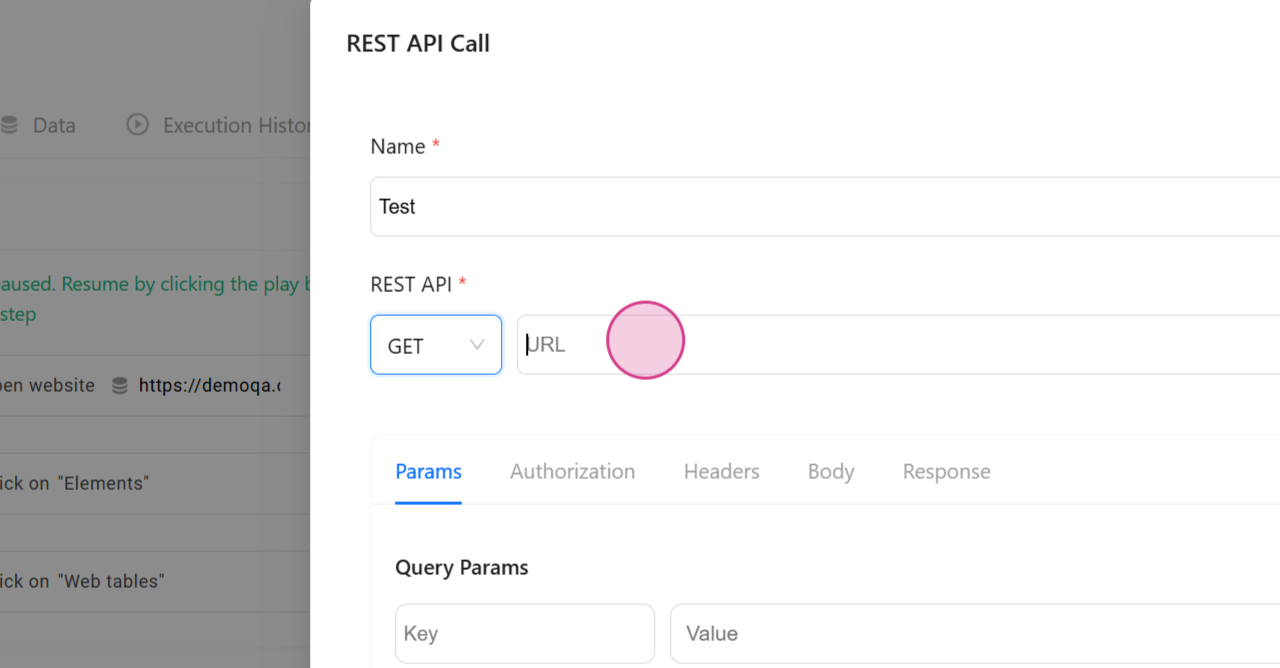
Step 4: Input the URL of Your Choice
Input the URL of your choice.
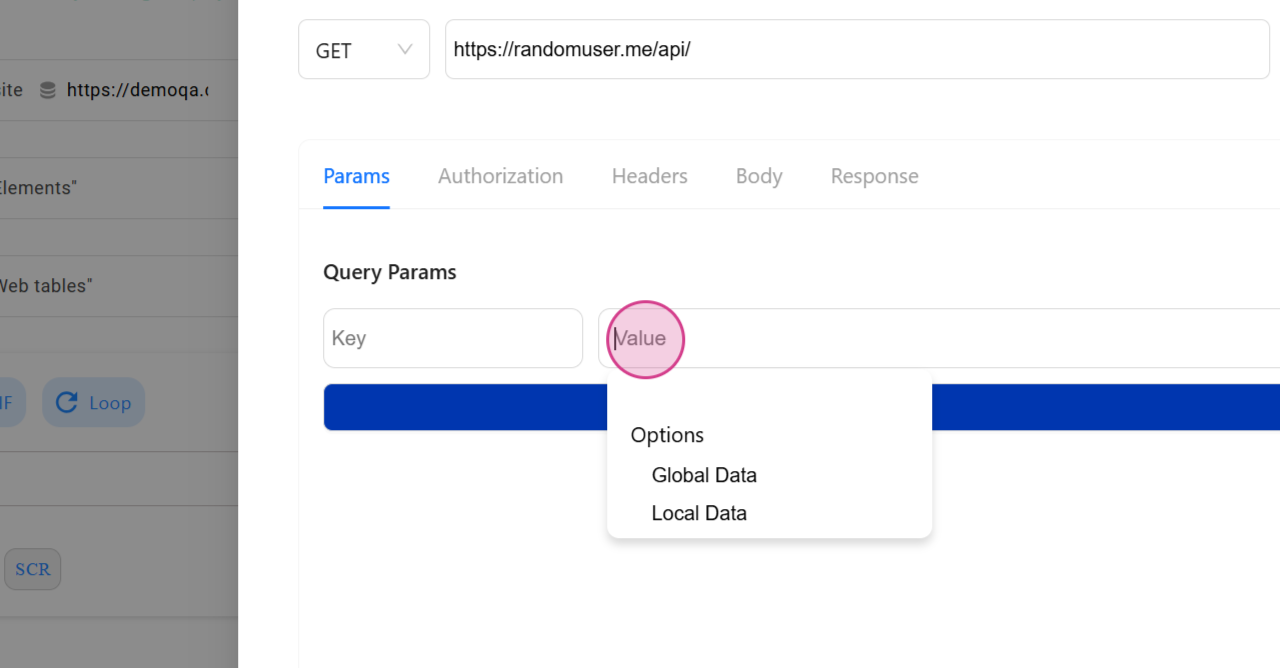
Step 5: Provide Any Necessary Parameters
Provide any necessary parameters for the API.
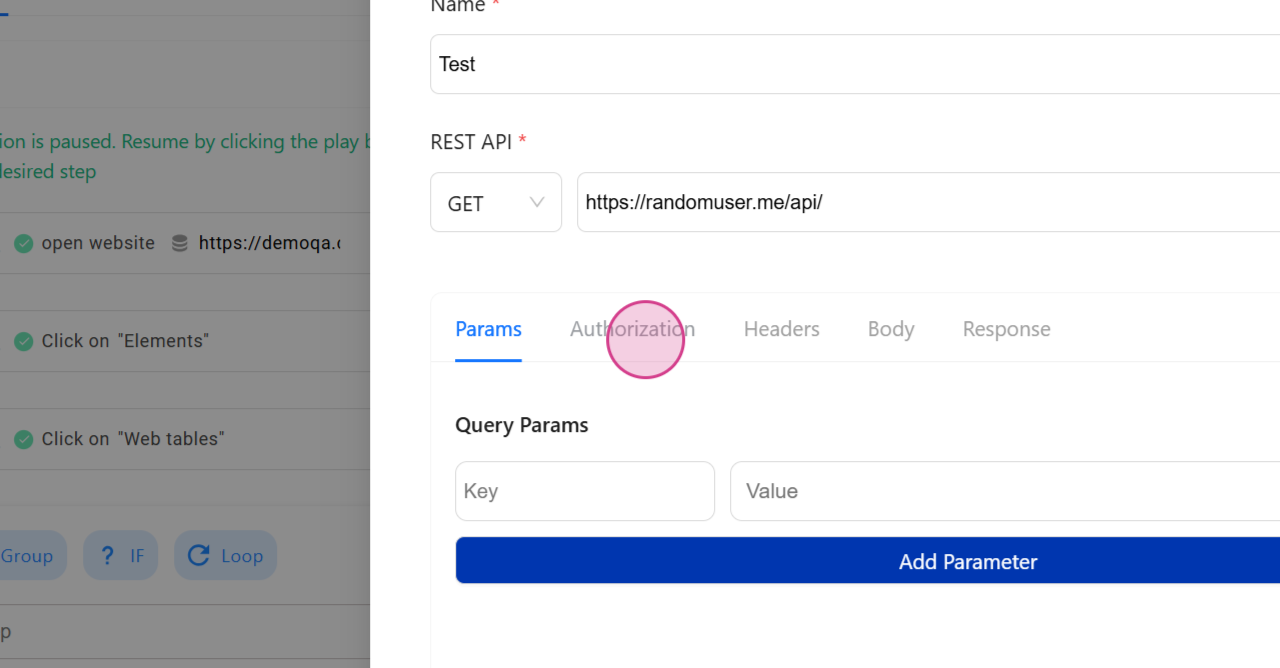
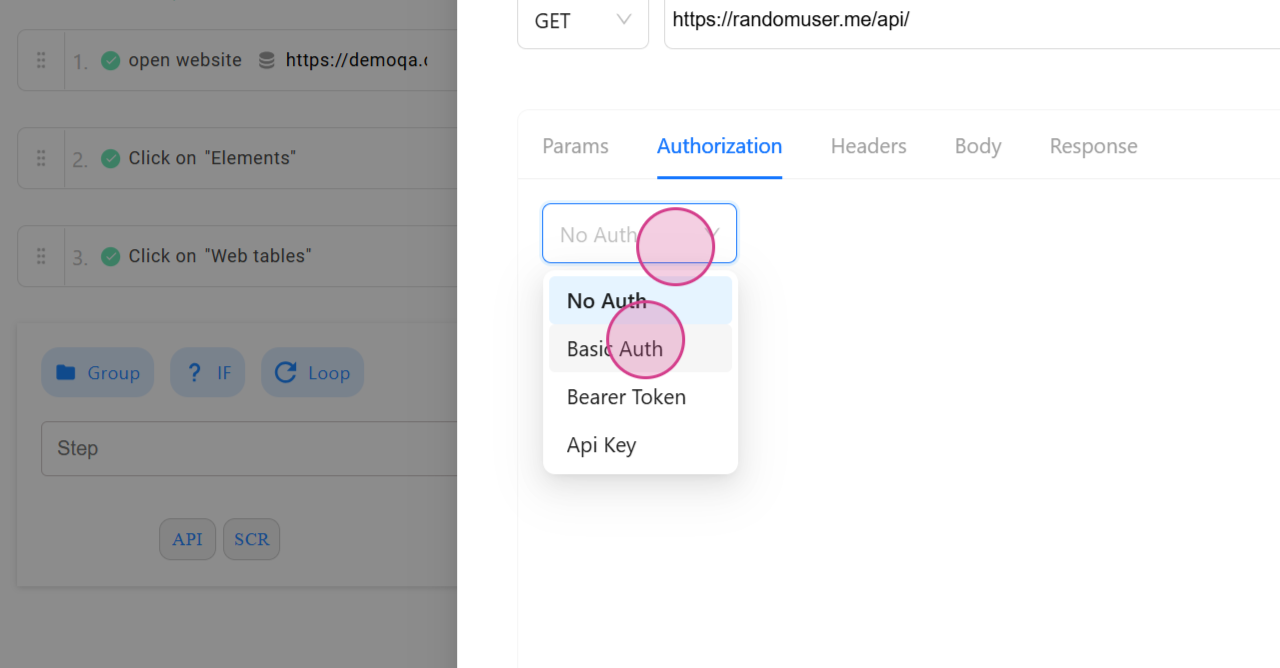
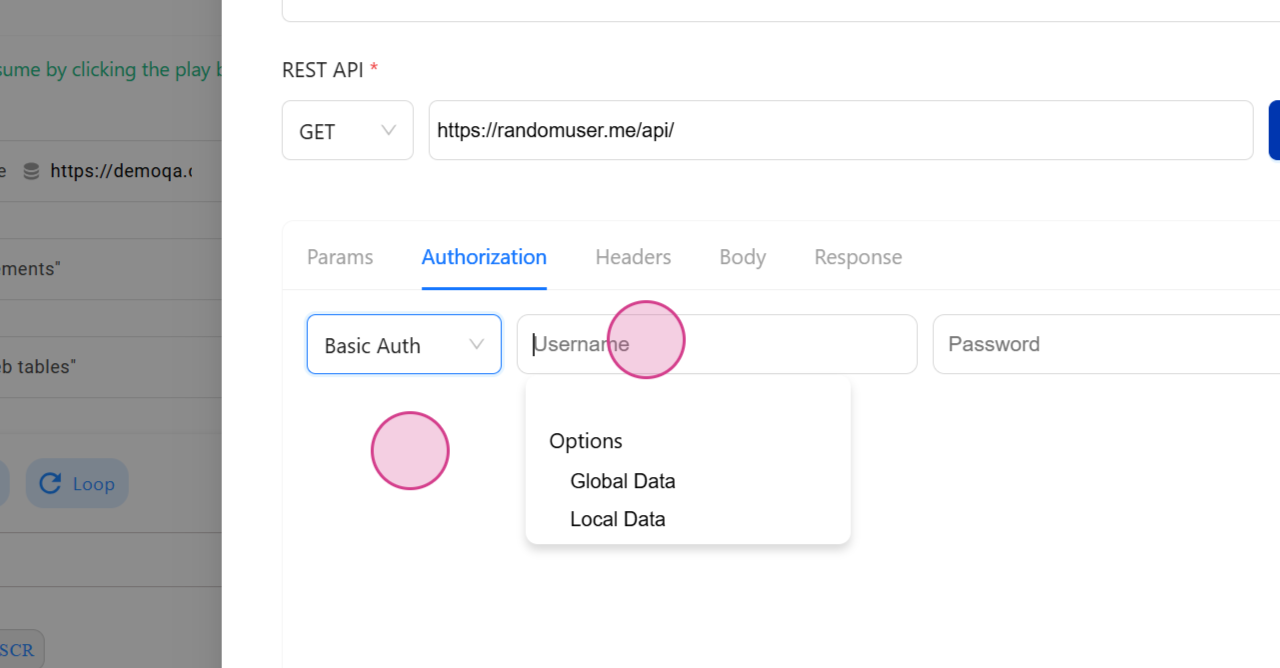
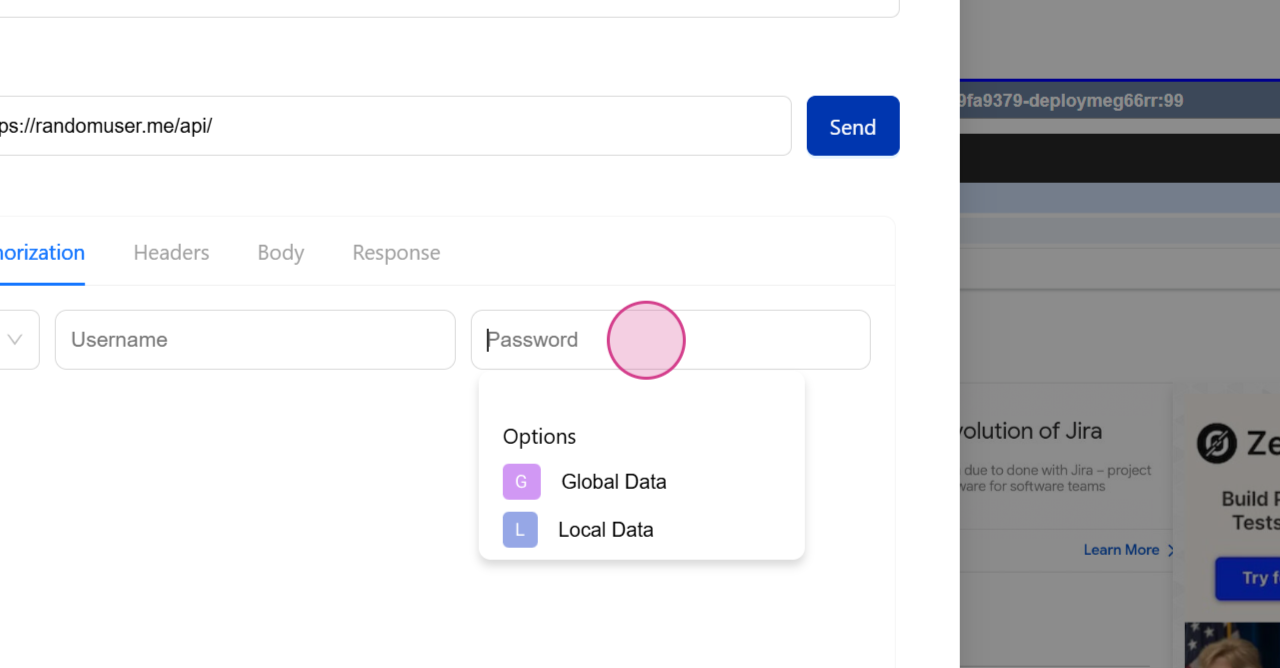
Step 6: Input Authorization Details
In the Authorization section, input any variables or passwords.

Step 7: Parameterize the Body (If Needed)
Parameterize the body of the request if needed.
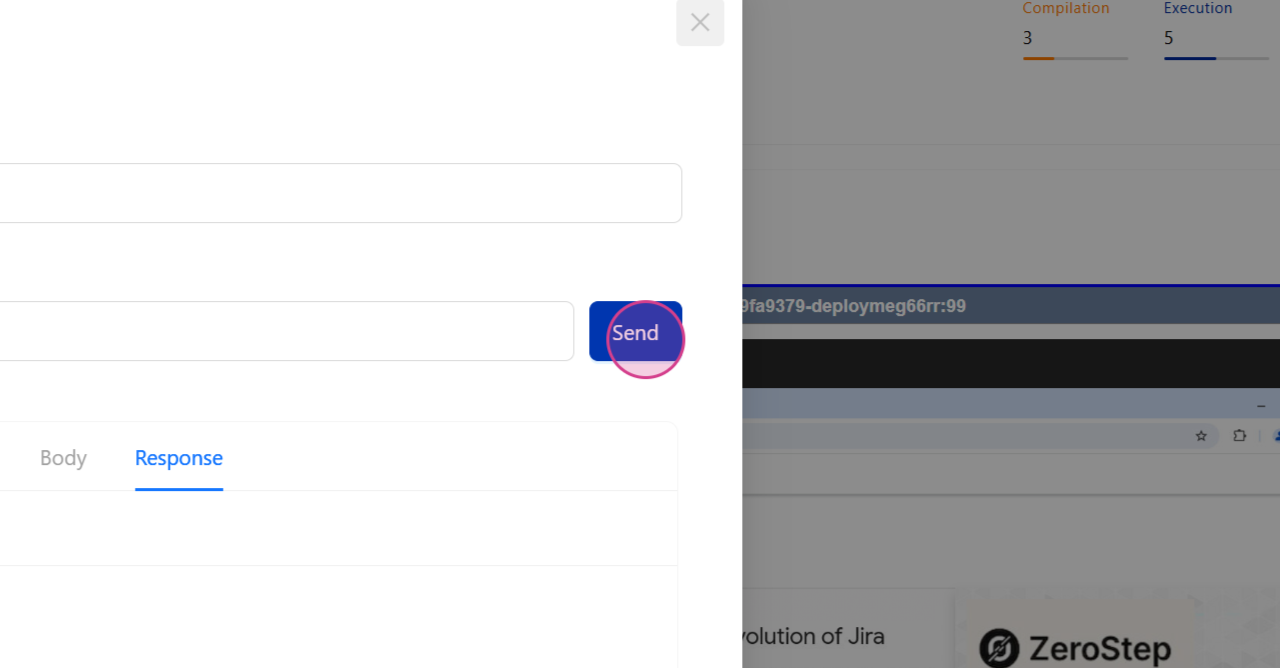
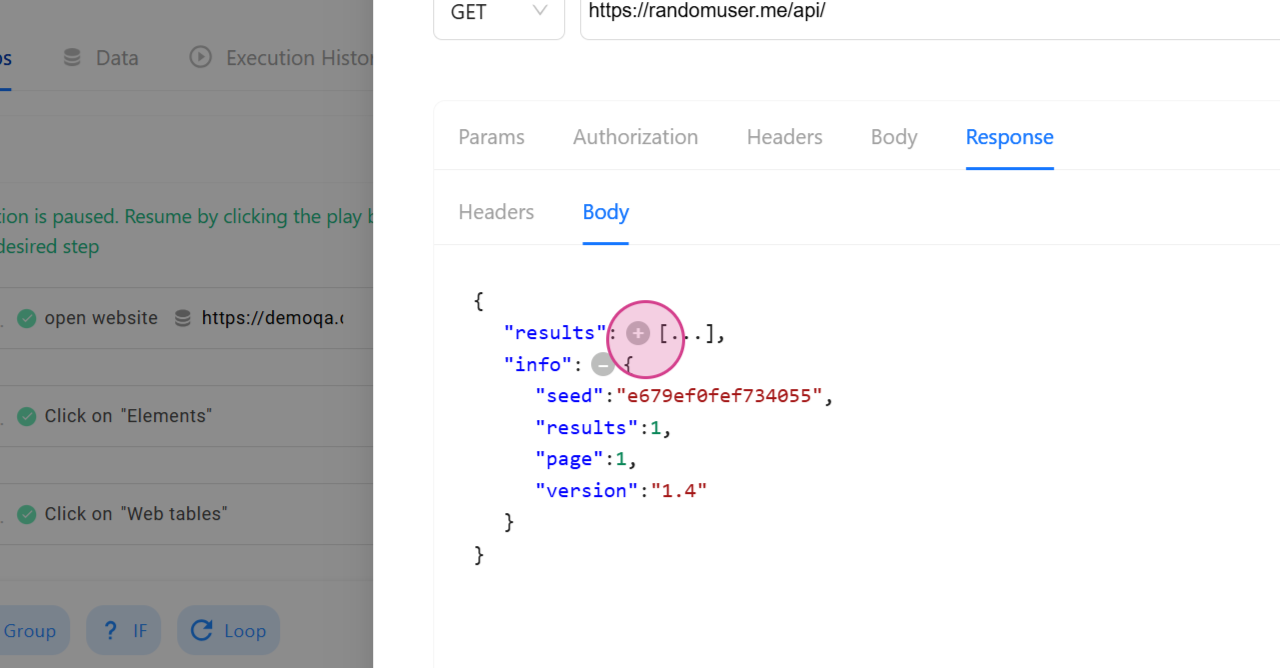
Step 8: Skip Unnecessary Sections and Send the Request
Skip any unnecessary sections and click on the Send button to receive the API response.
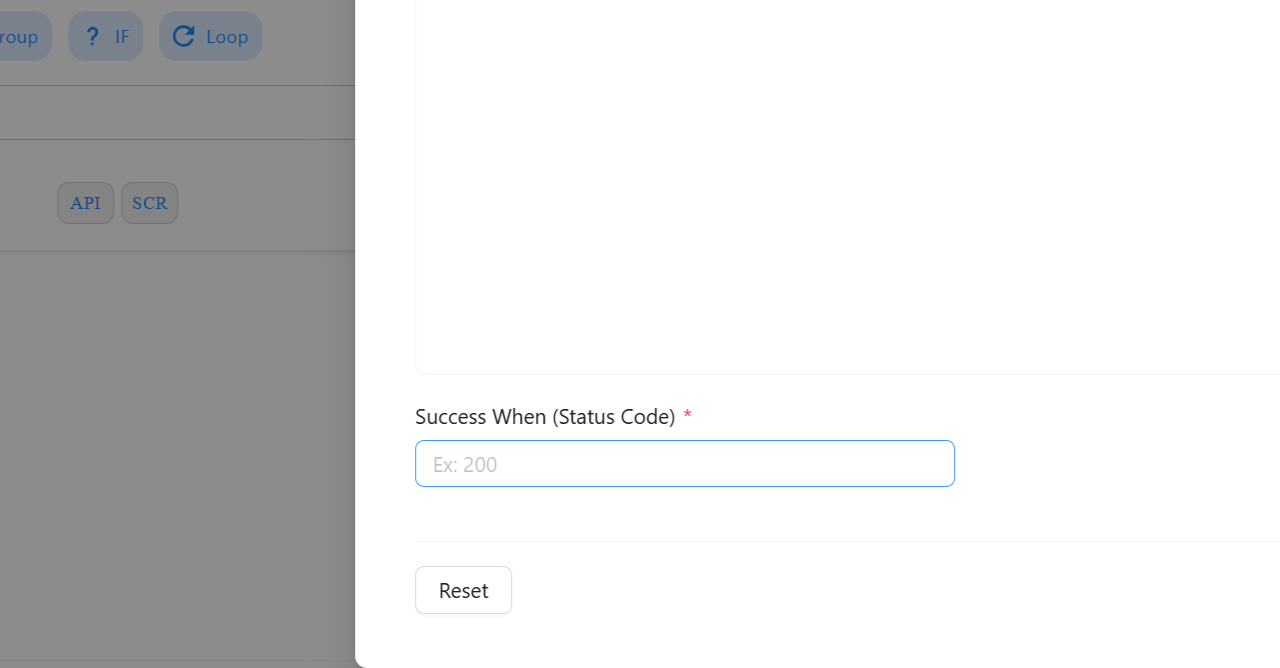
Step 9: Verify the Status Code
Verify the status code by providing the expected status code.
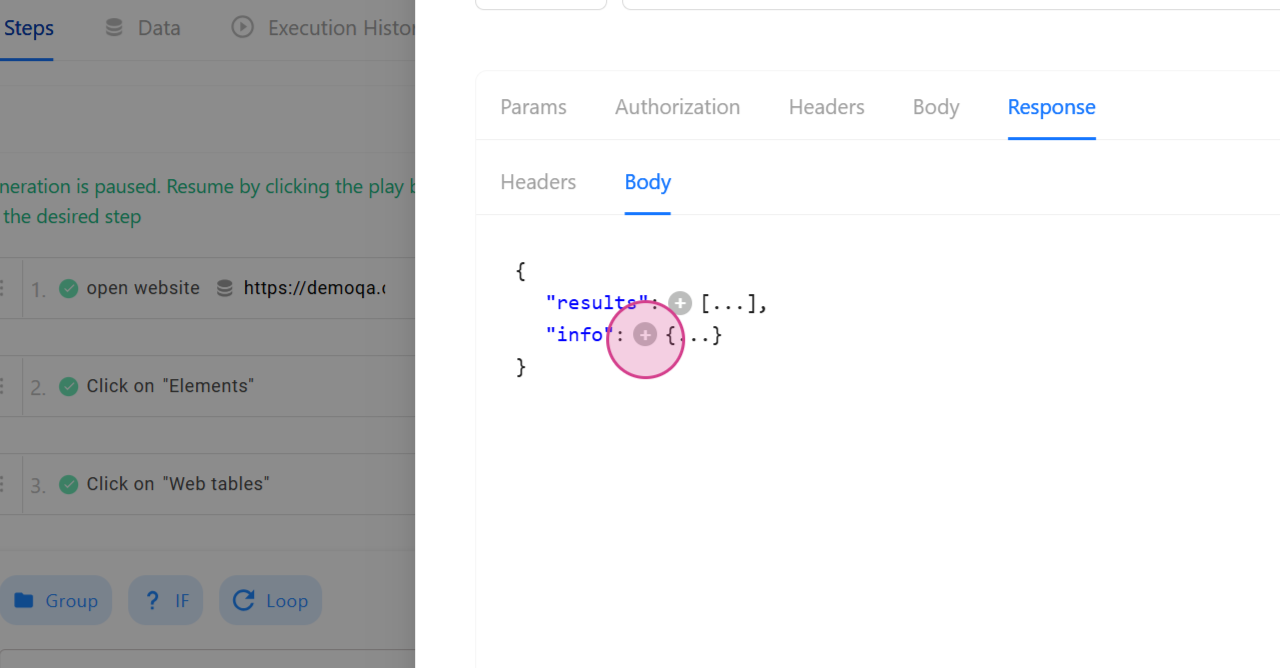
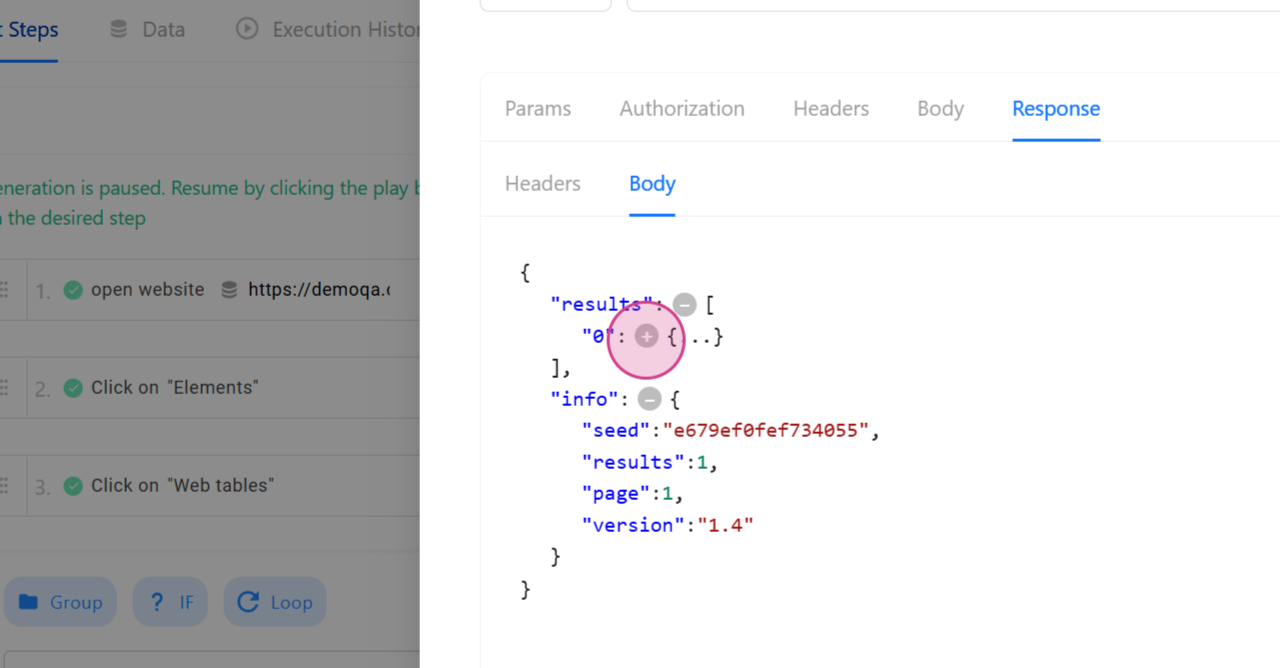
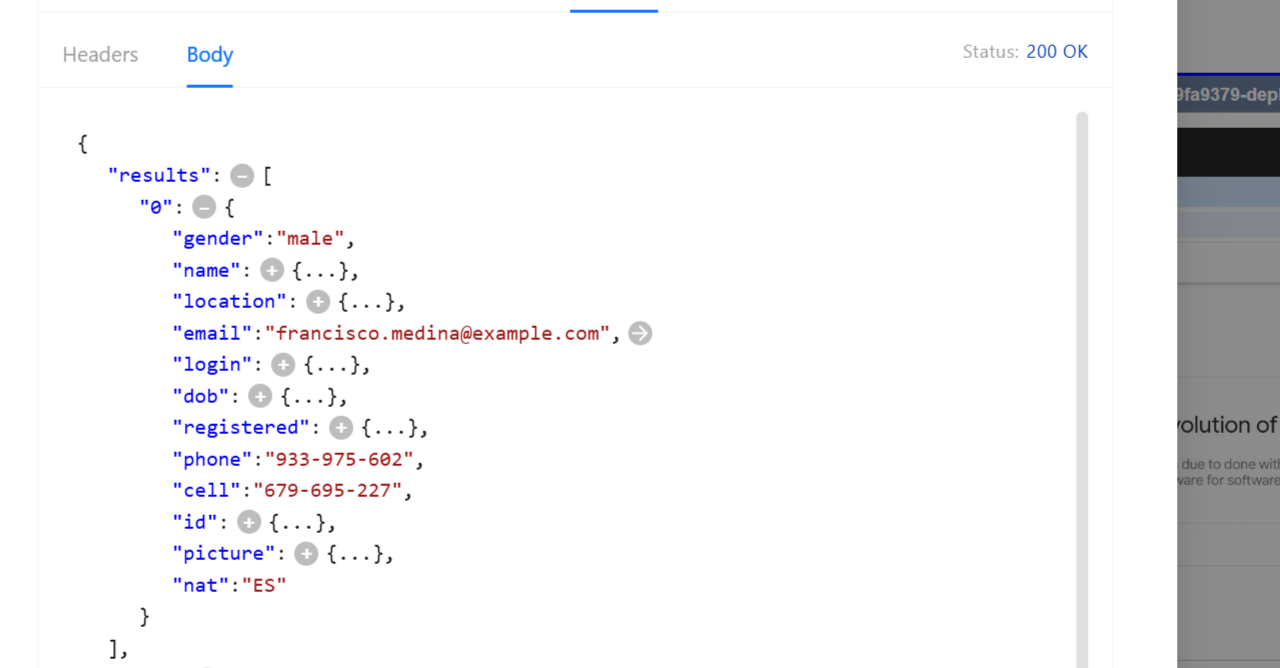
Step 10: Capture Any Details
Capture any details by hovering over the step and clicking on the arrow mark.
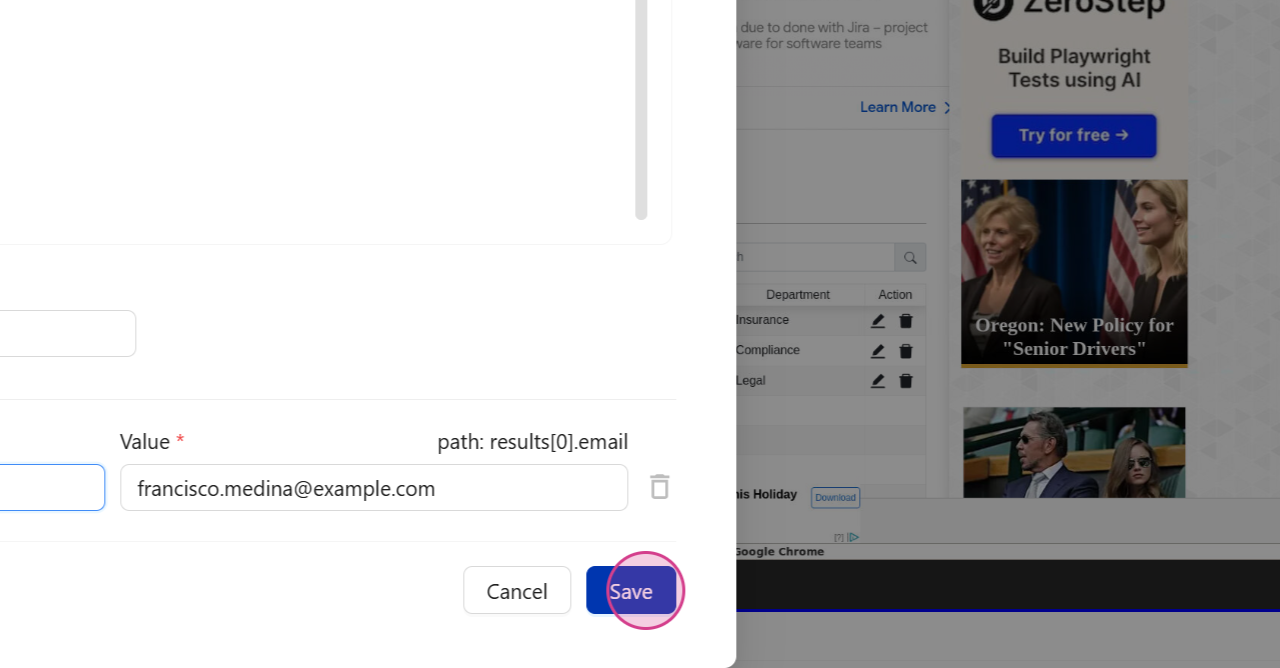
Step 11: Save the Captured Details as a Variable
Save the captured details, such as an email ID, as a variable.

Step 12: Click on the Save Icon to Save the API
Click on the Save icon to save the API.
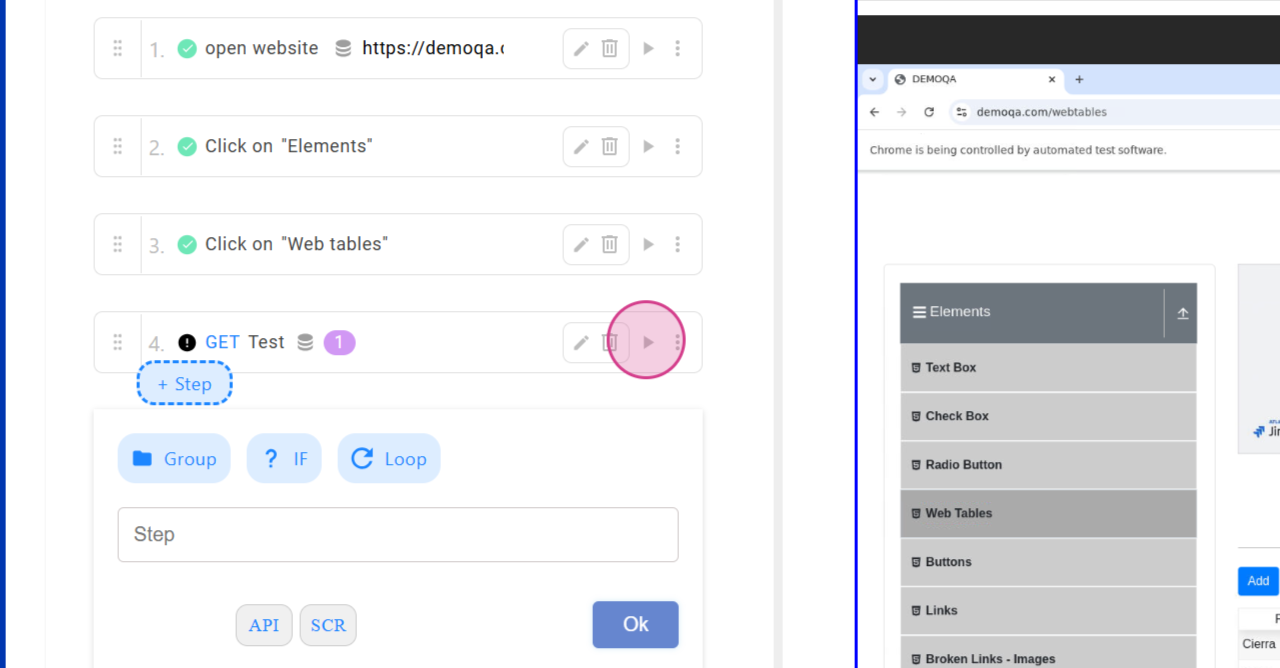
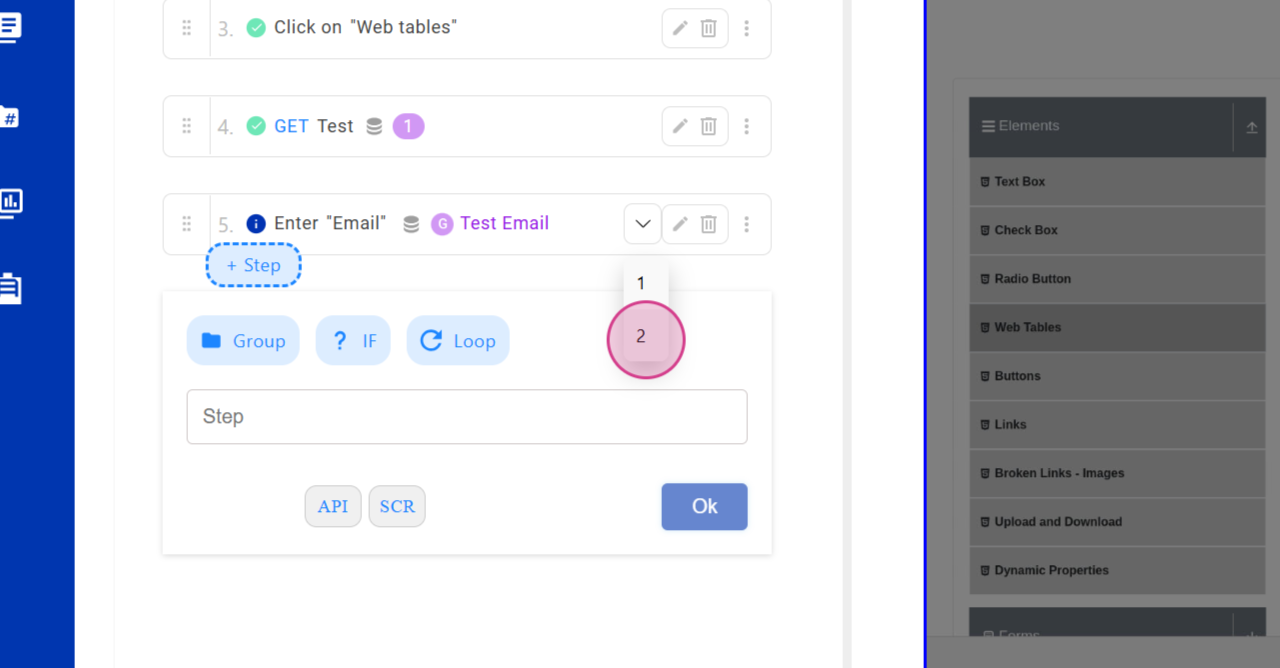
Step 13: Reuse the API by Calling the Variable
To reuse the API, call the variable in any step.
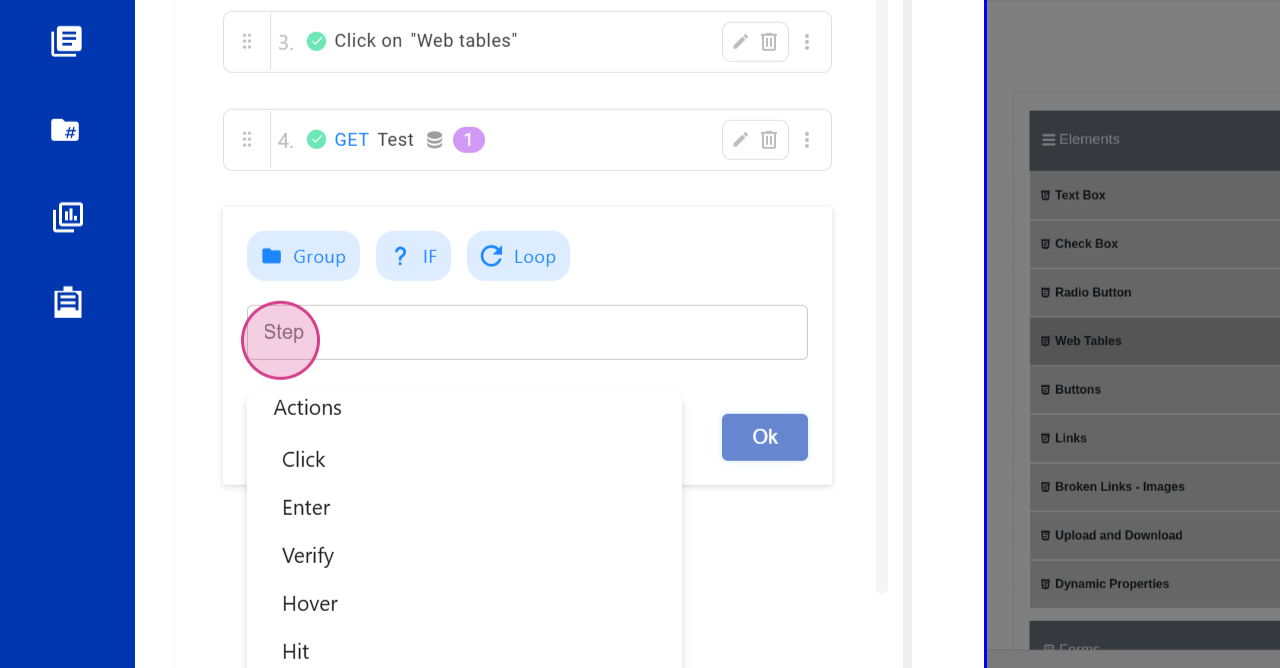
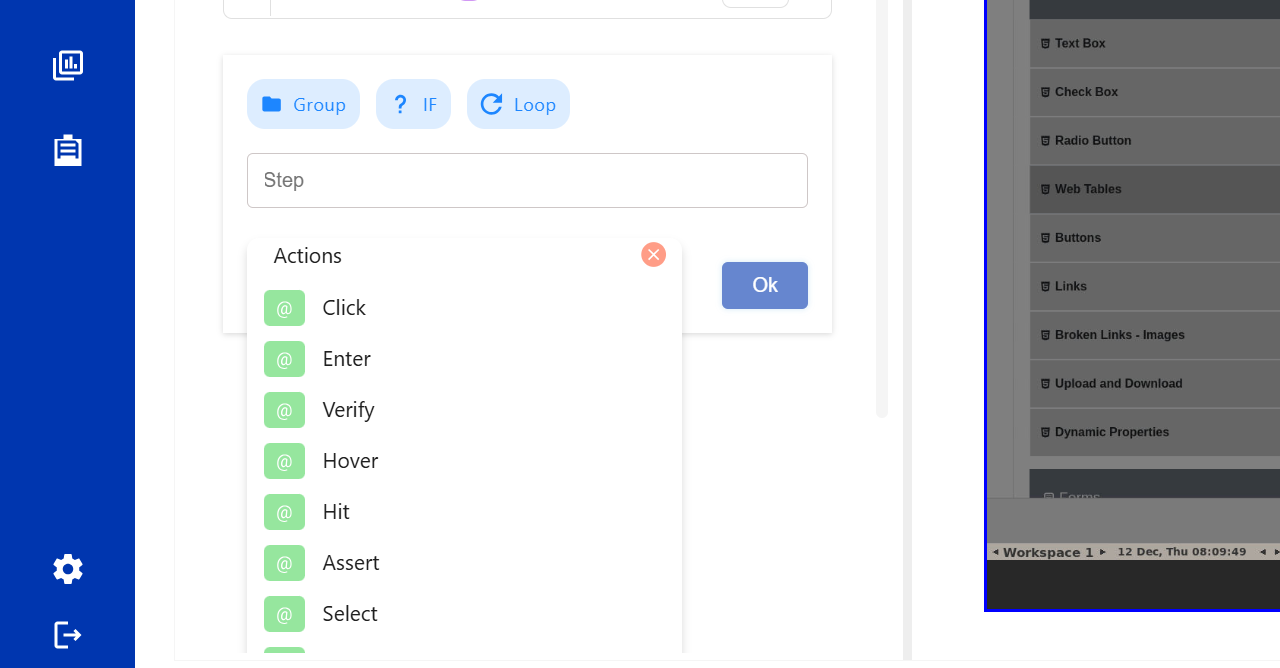
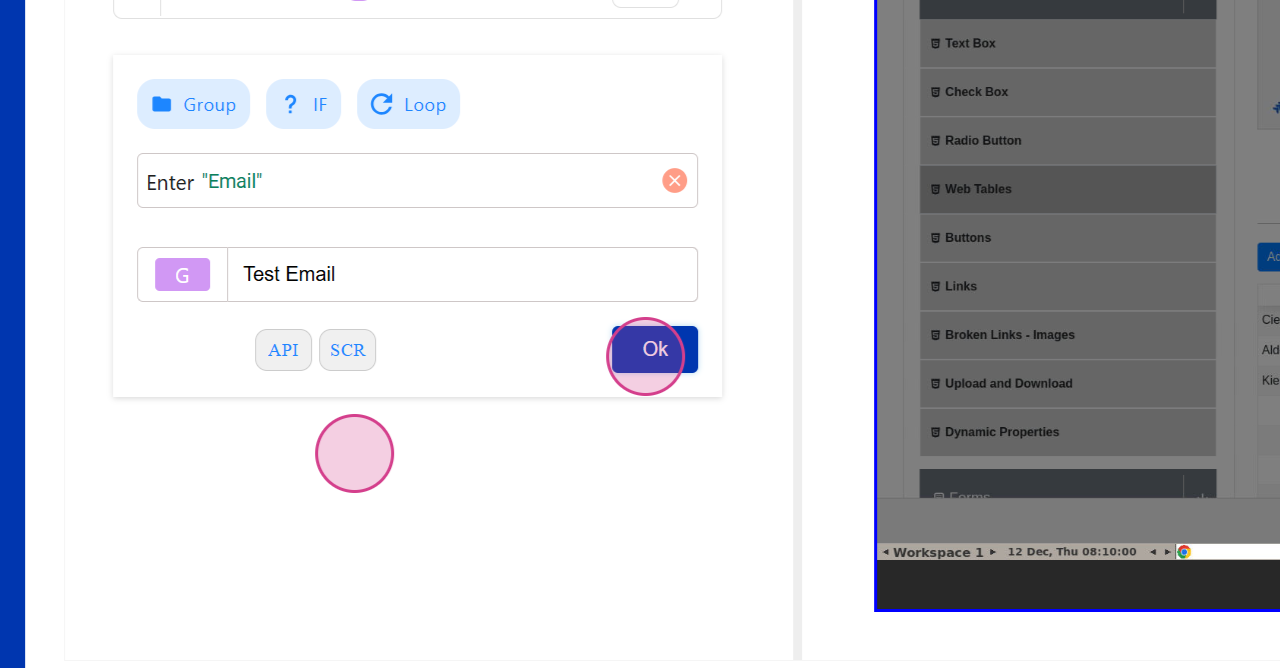
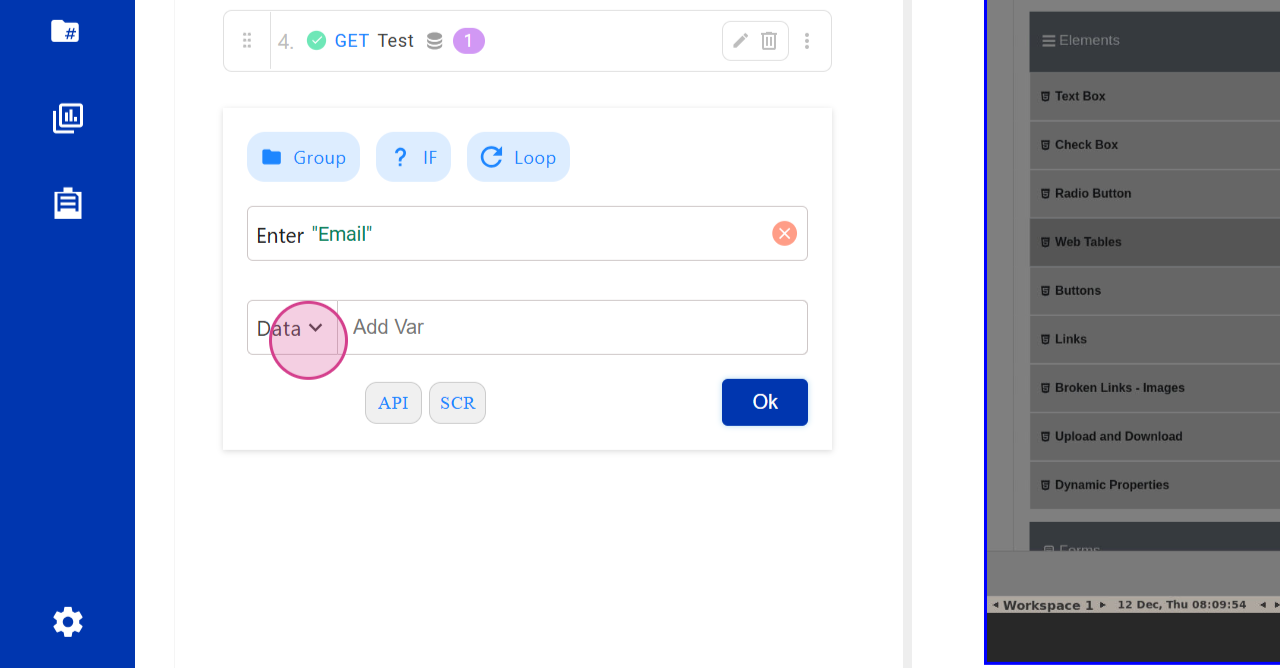
Step 14: Enter the Email and Provide Details
Enter the email and provide the necessary details.
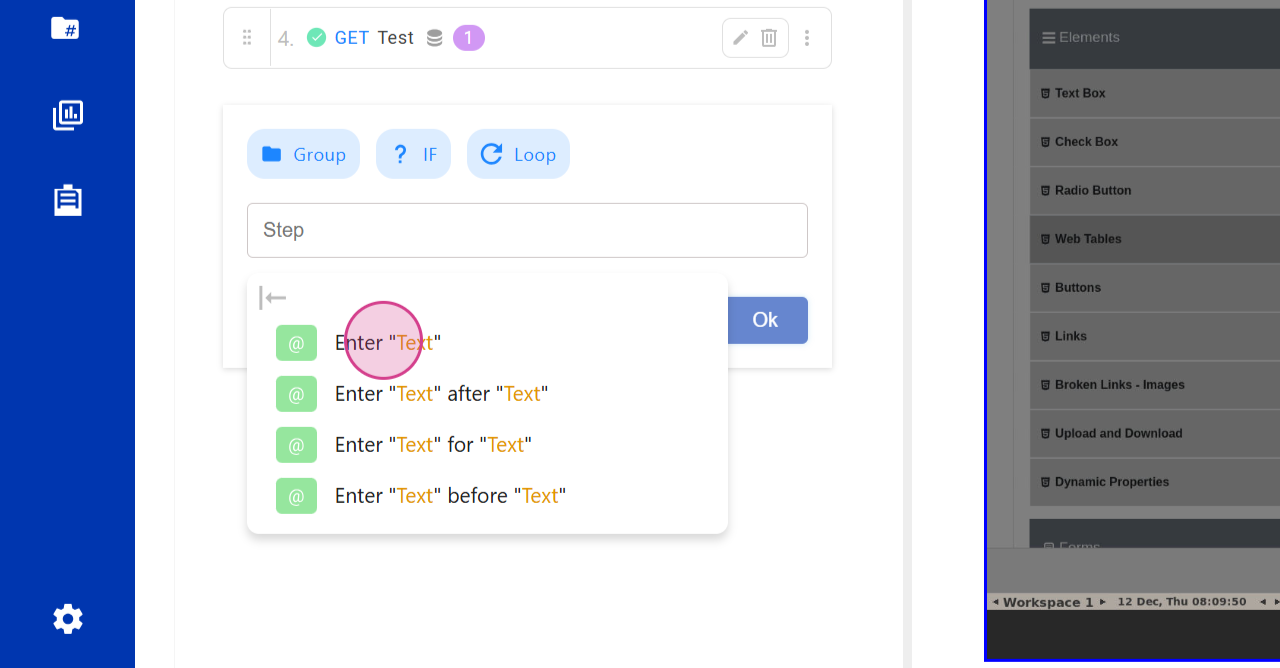

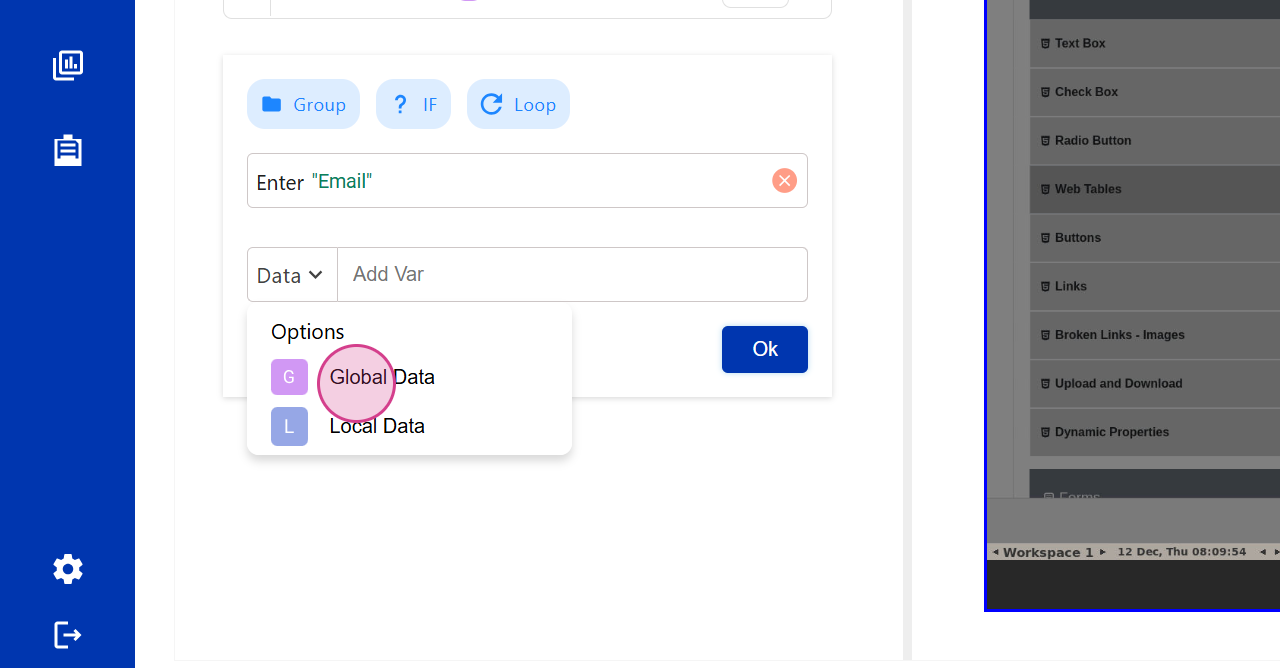
Step 15: Choose the Variable
Choose the variable that you've previously saved.
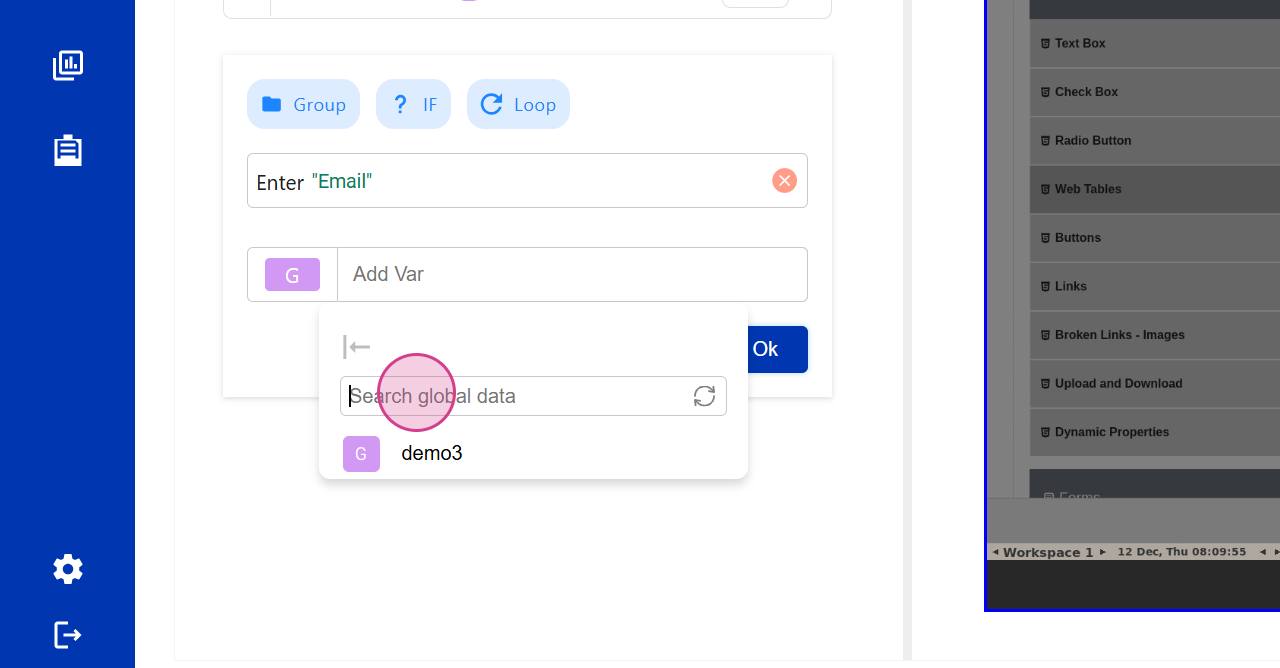
Step 16: Click on OK to Complete
Click on OK. The tool should identify and enter the details into the variable.