Schedule an Existing Test Suite
In this article, you'll learn how to schedule an existing test suite.
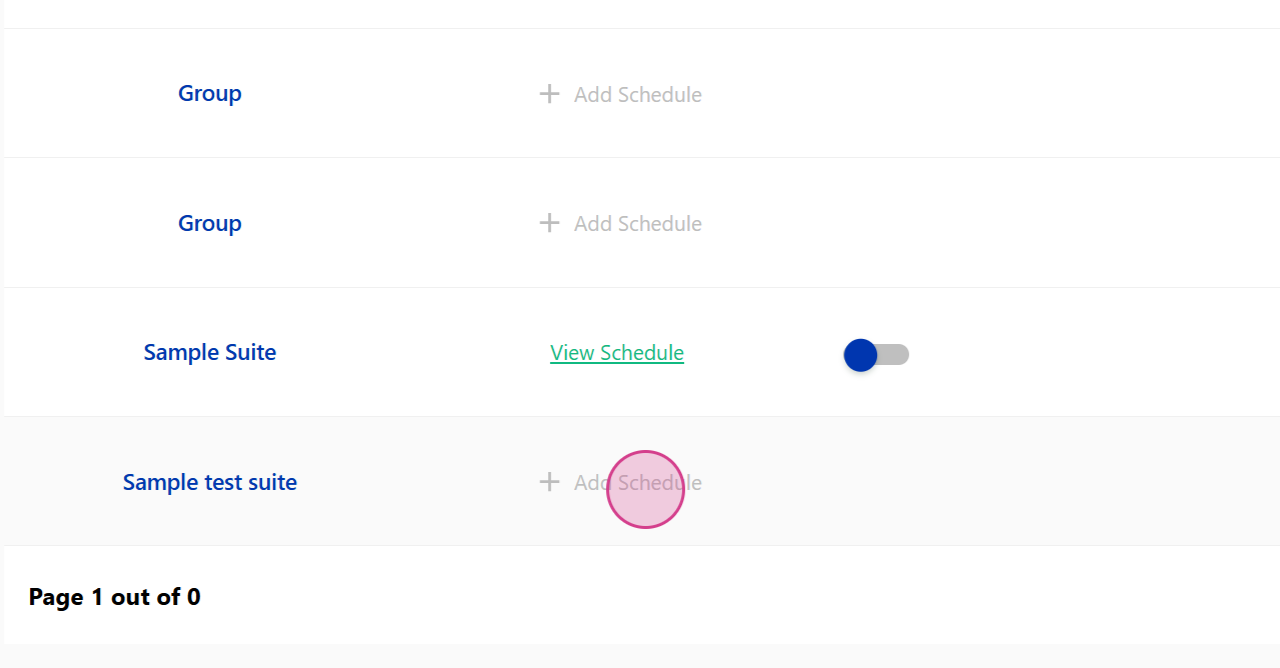
Step 1: Select an Already Created Test Suite
Select an already created test suite by clicking on it.
Step 2: Click on the Add Schedule Button
Click on the Add Schedule button.
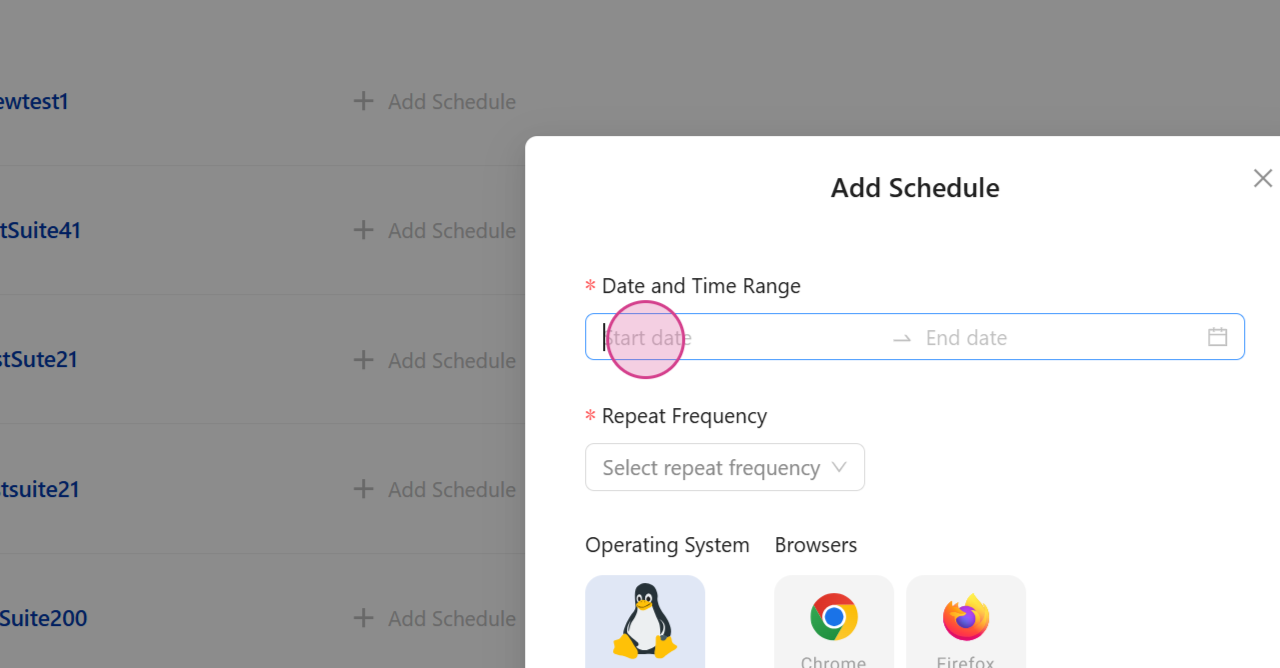
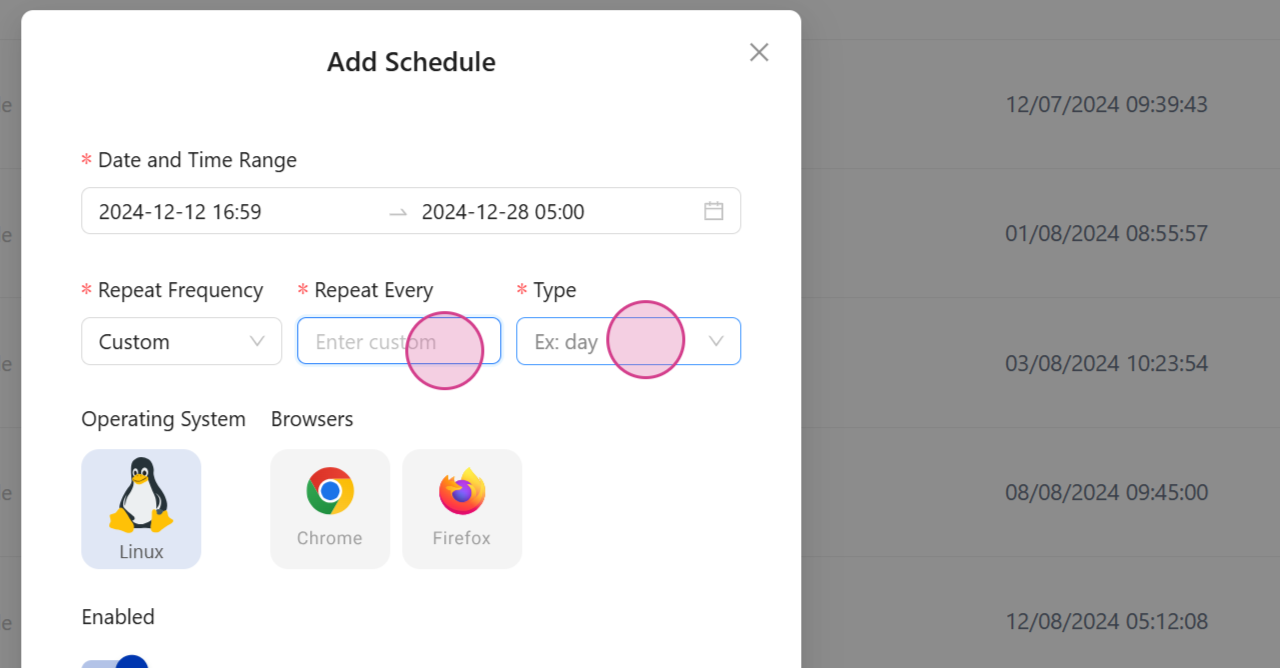
Step 3: Enter Start and End Dates for the Schedule
You'll be prompted to enter a start and end date for the schedule.
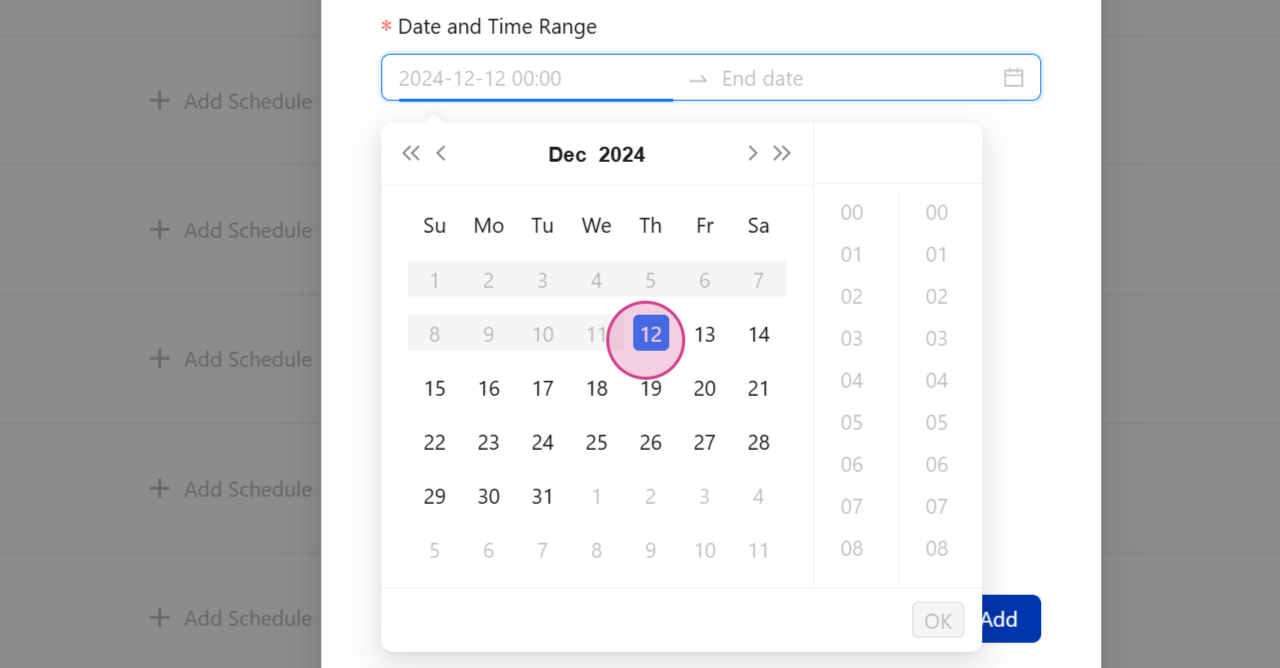
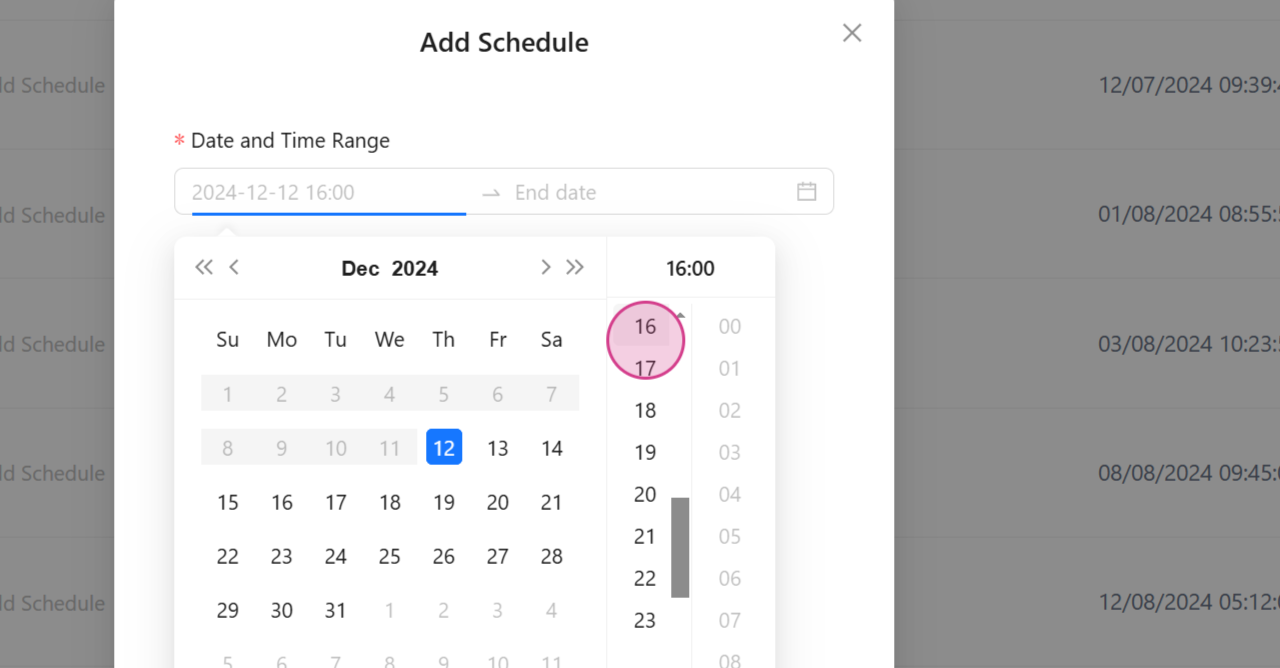
Step 4: Set the Start and End Dates
Enter the start and end dates based on your requirements.
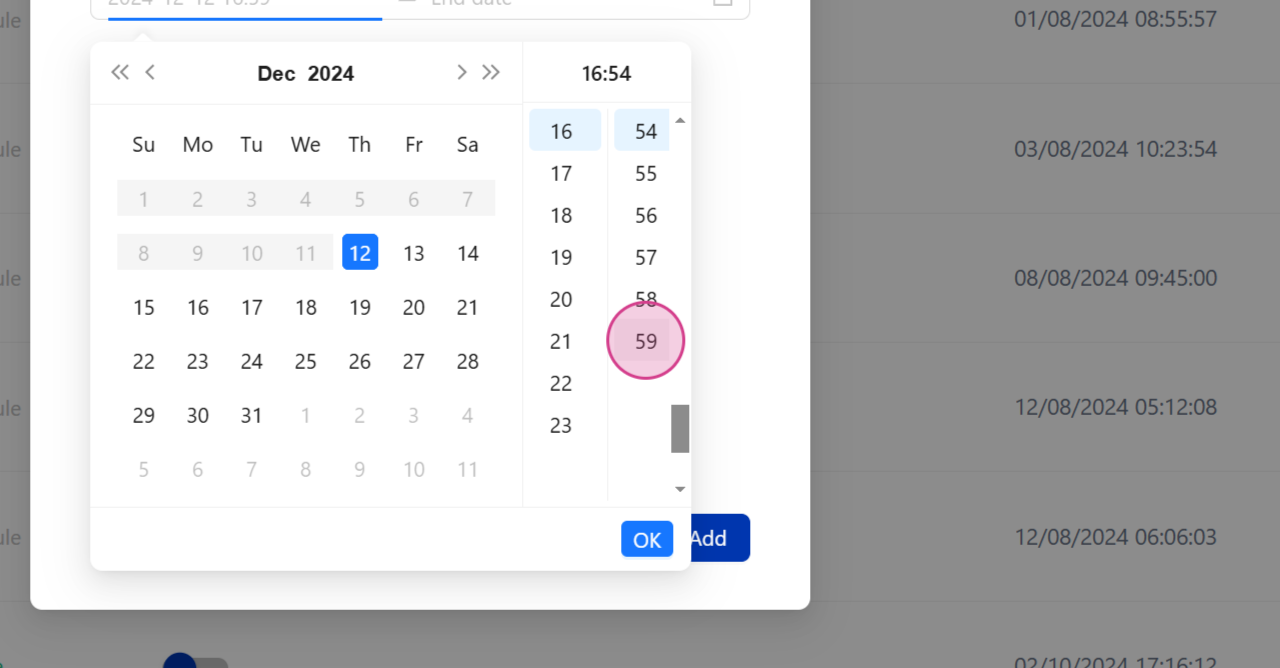
For instance, set the start time at 4:59
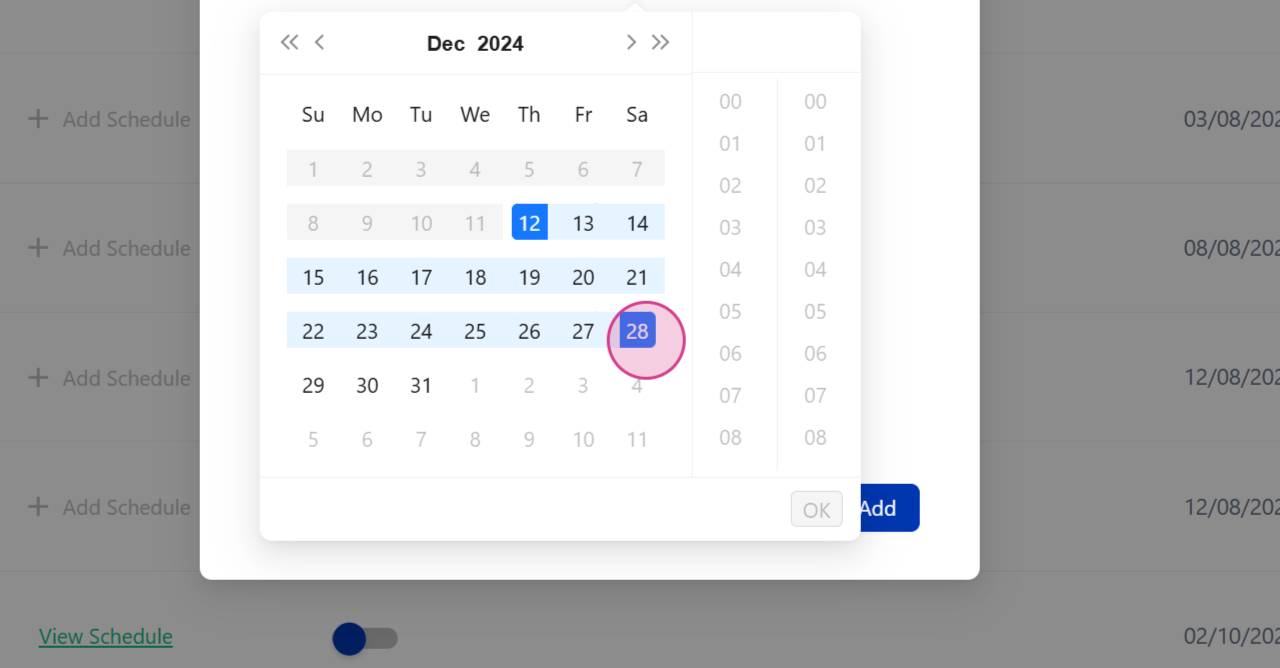
and the end date on the 28th
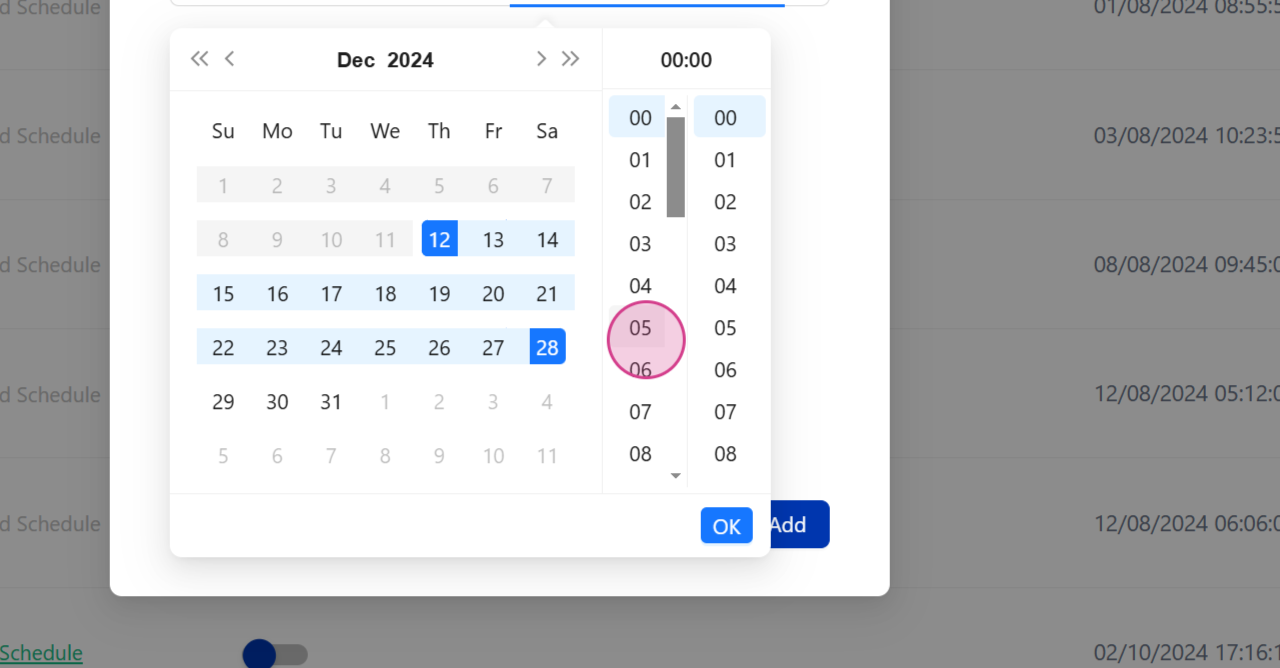
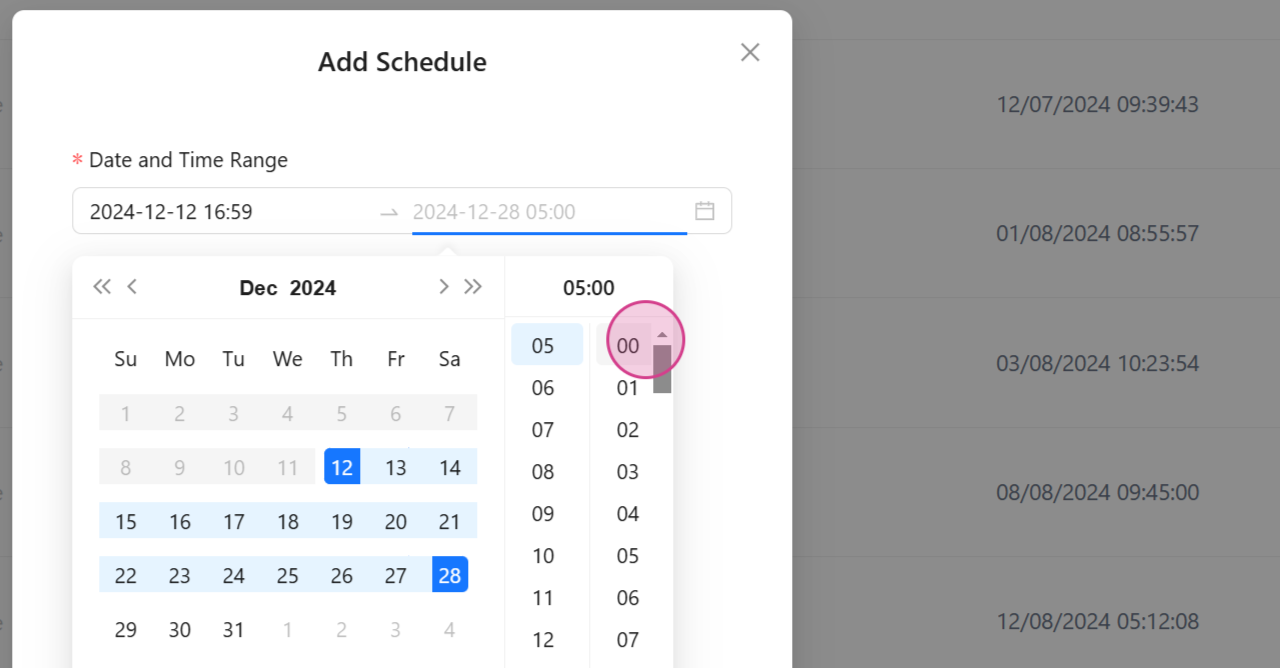
at 5:00 AM.

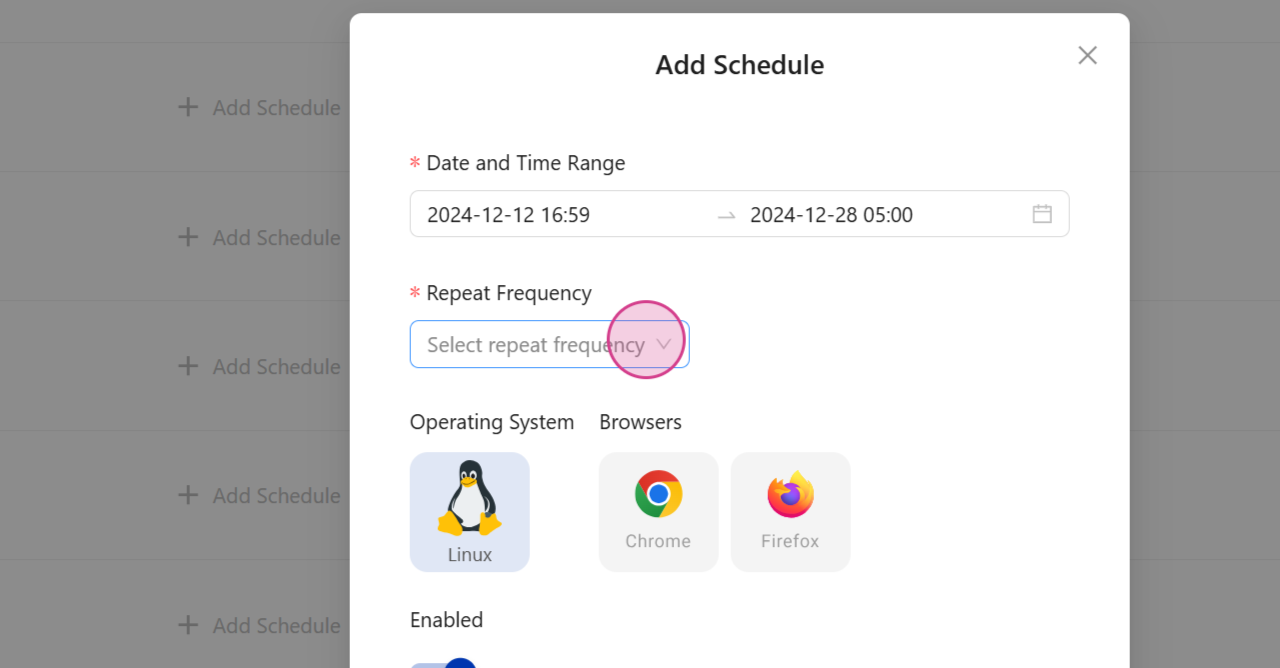
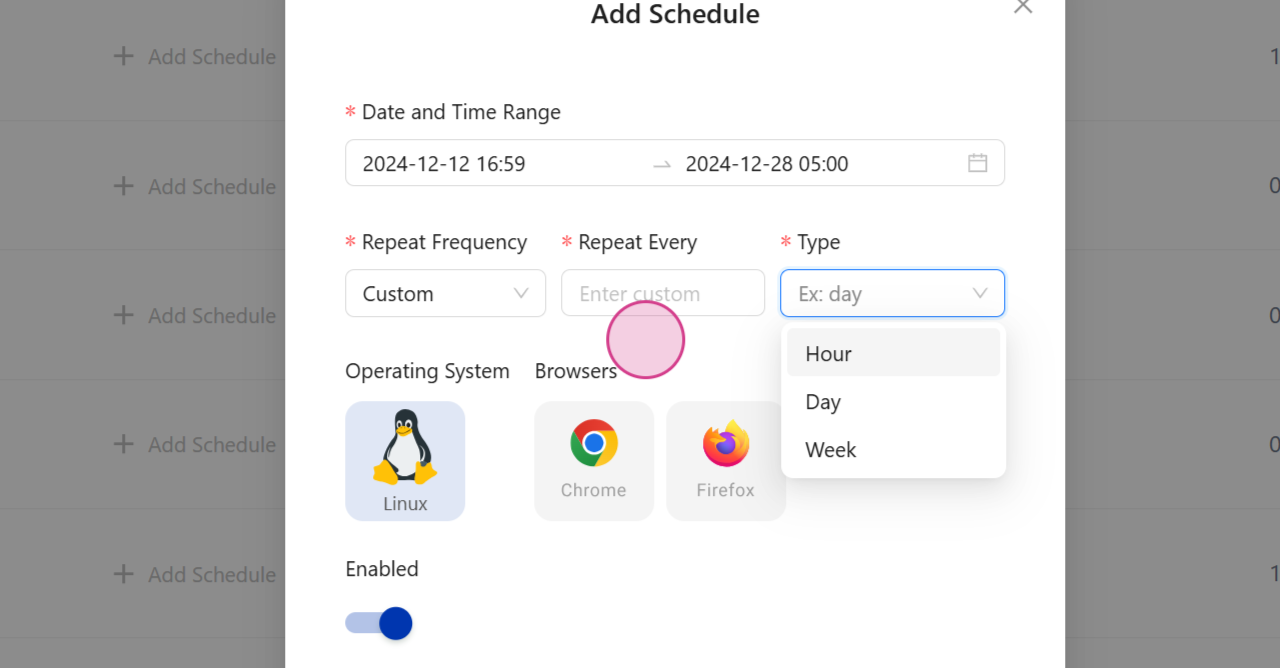
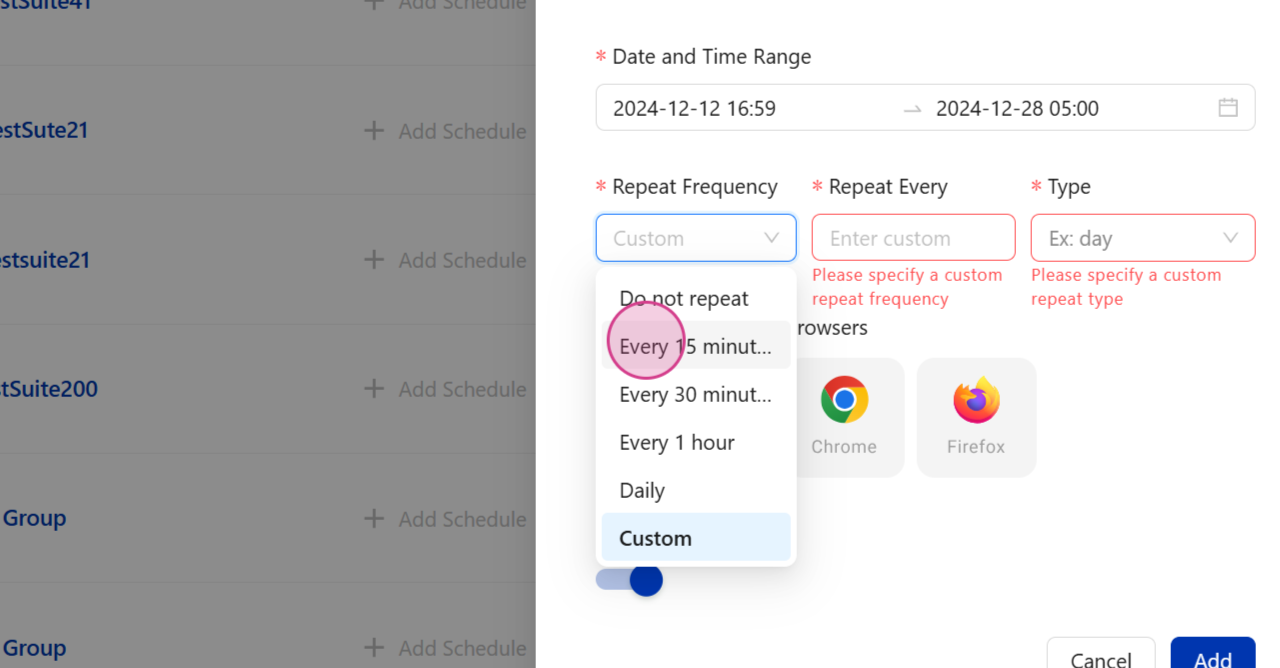
Step 5: Choose the Frequency of the Test Suite
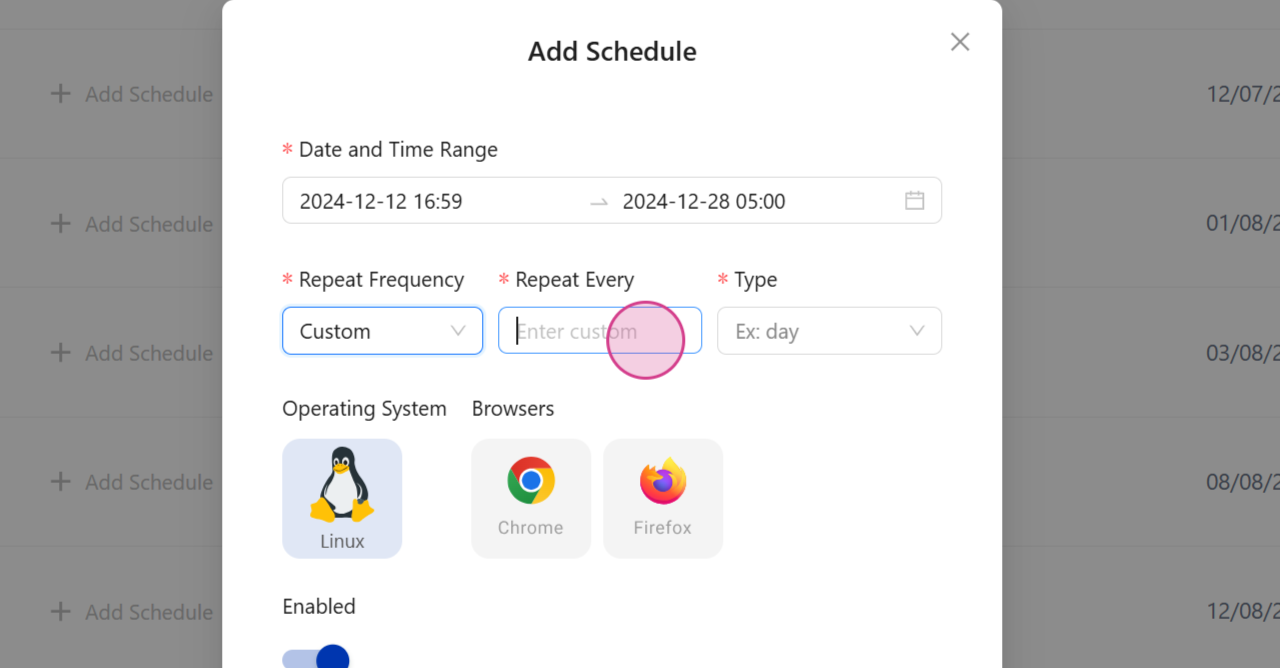
Choose the frequency of the test suite by selecting one of the available options: every 15 minutes, 1 hour, daily, or a custom option.
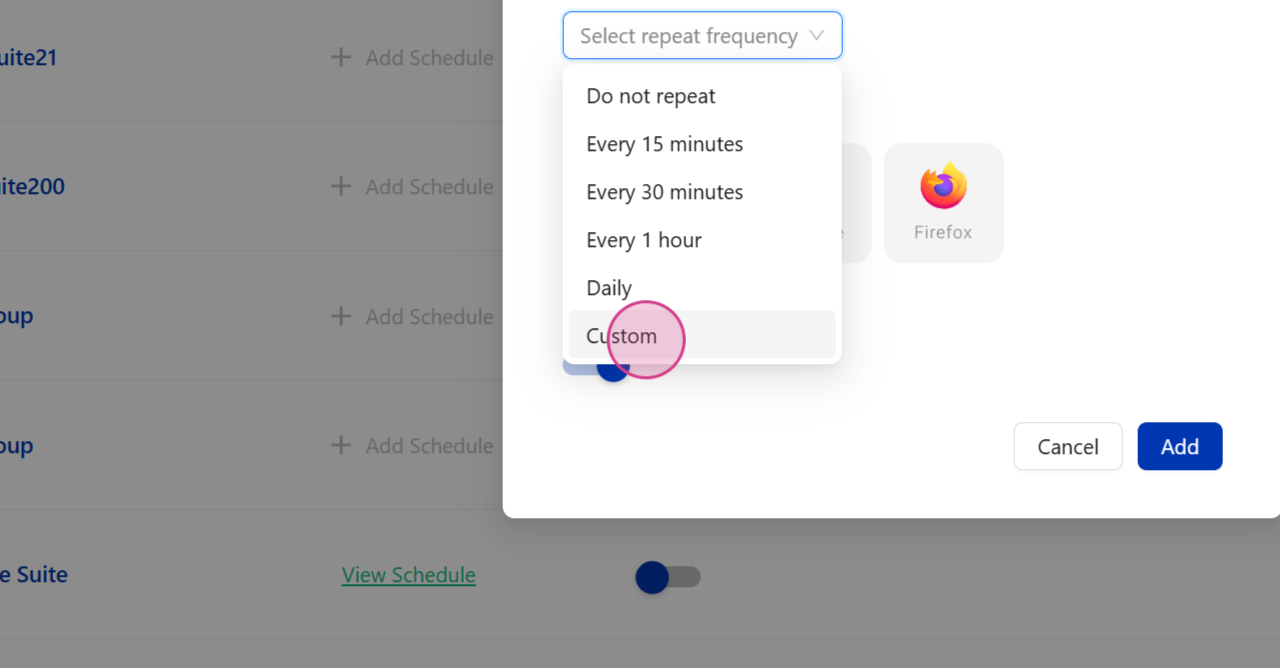
You can also set it to repeat on a specific day of the week.
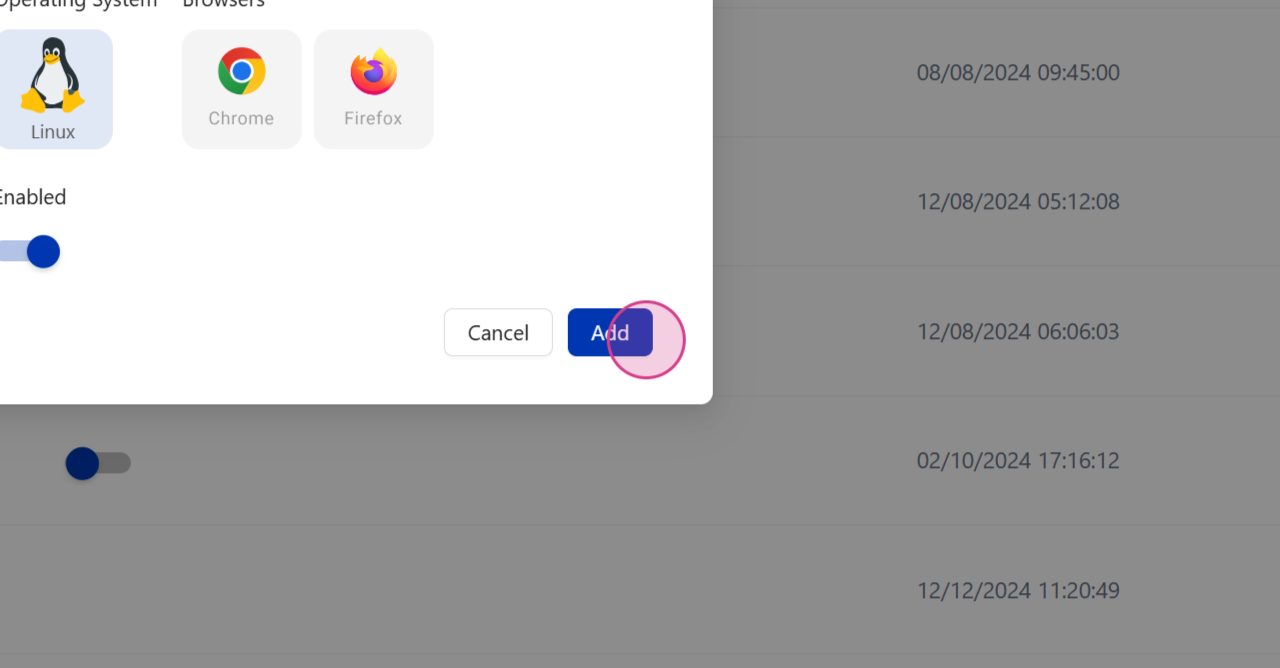
Step 6: Select the Platform Combination
Select the platform combination and click on the Add button.


For this example, we'll just select one of the available options.
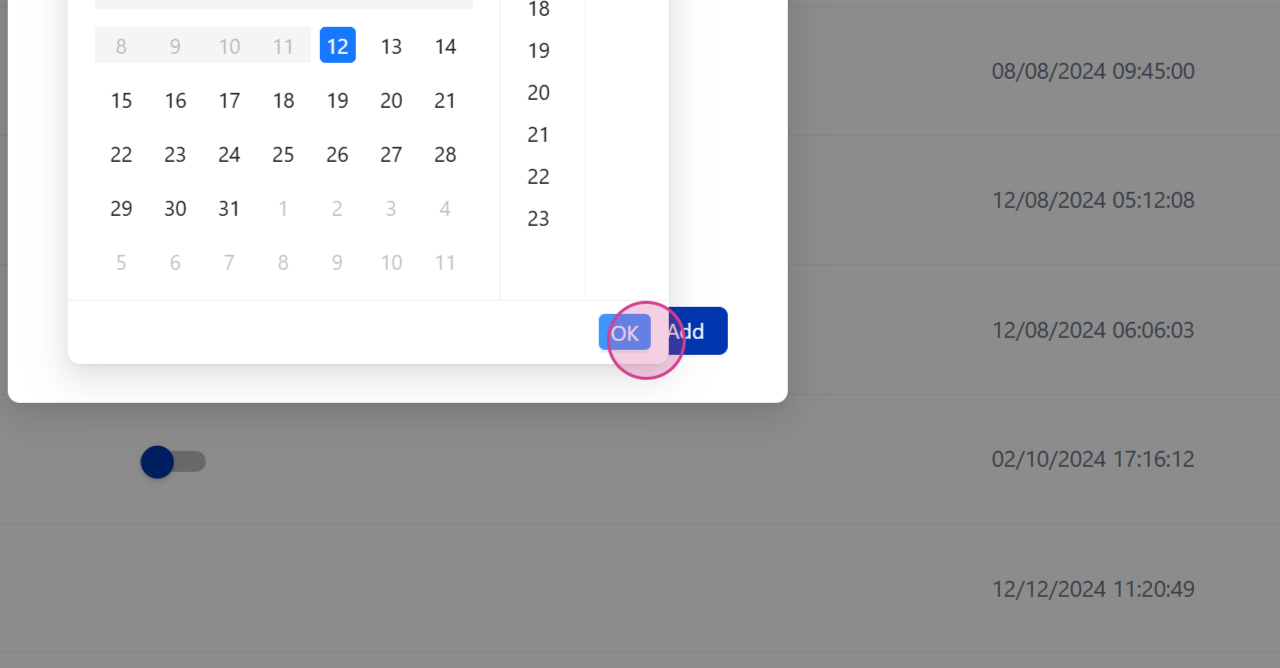
Step 7: Set the Schedule
Click on the Add button to set the schedule.

If you need to deactivate the schedule at any point, simply click on the button shown below.
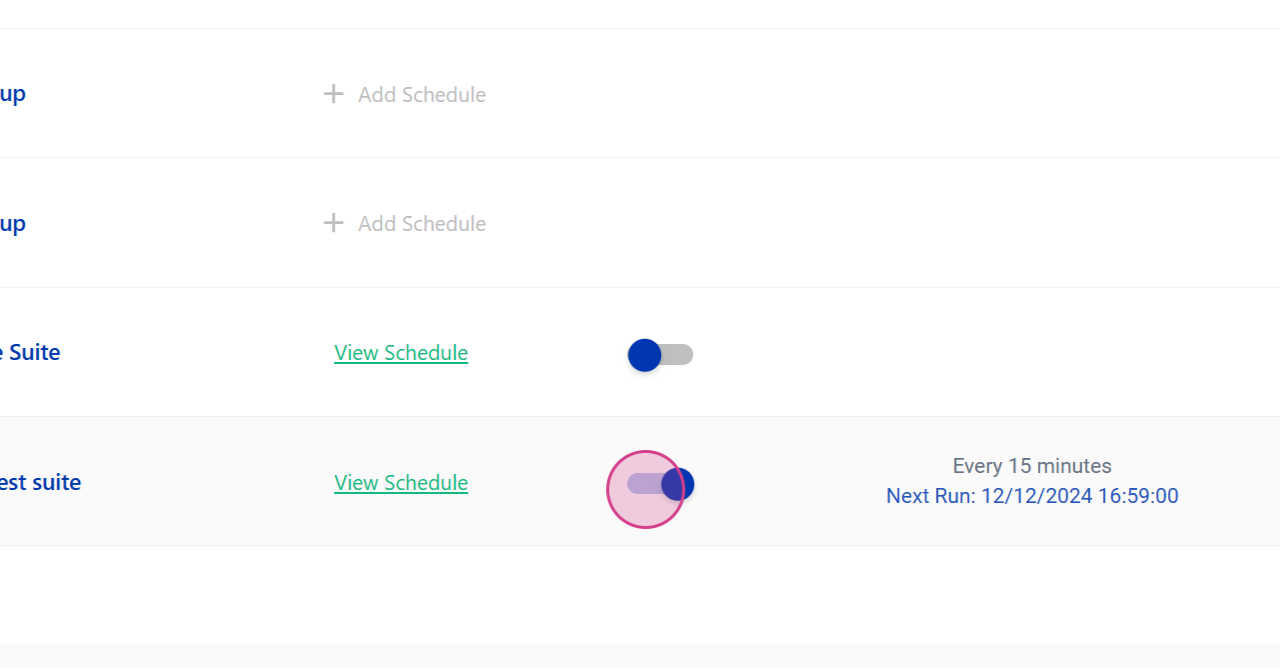
This will disable the schedule.
Conclusion
By following these steps, you'll be able to schedule your test suite and set the desired frequency and platform combination.